
Chicken Roll Ups


Baked until juicy and golden, these Chicken Roll Ups are filled with creamy, cheesy flavor for an easy comfort-food dinner the whole family will love. They’re simple enough to meal prep for busy weeknights, and kiddos love them. They look and taste impressive but are actually easy to whip up.
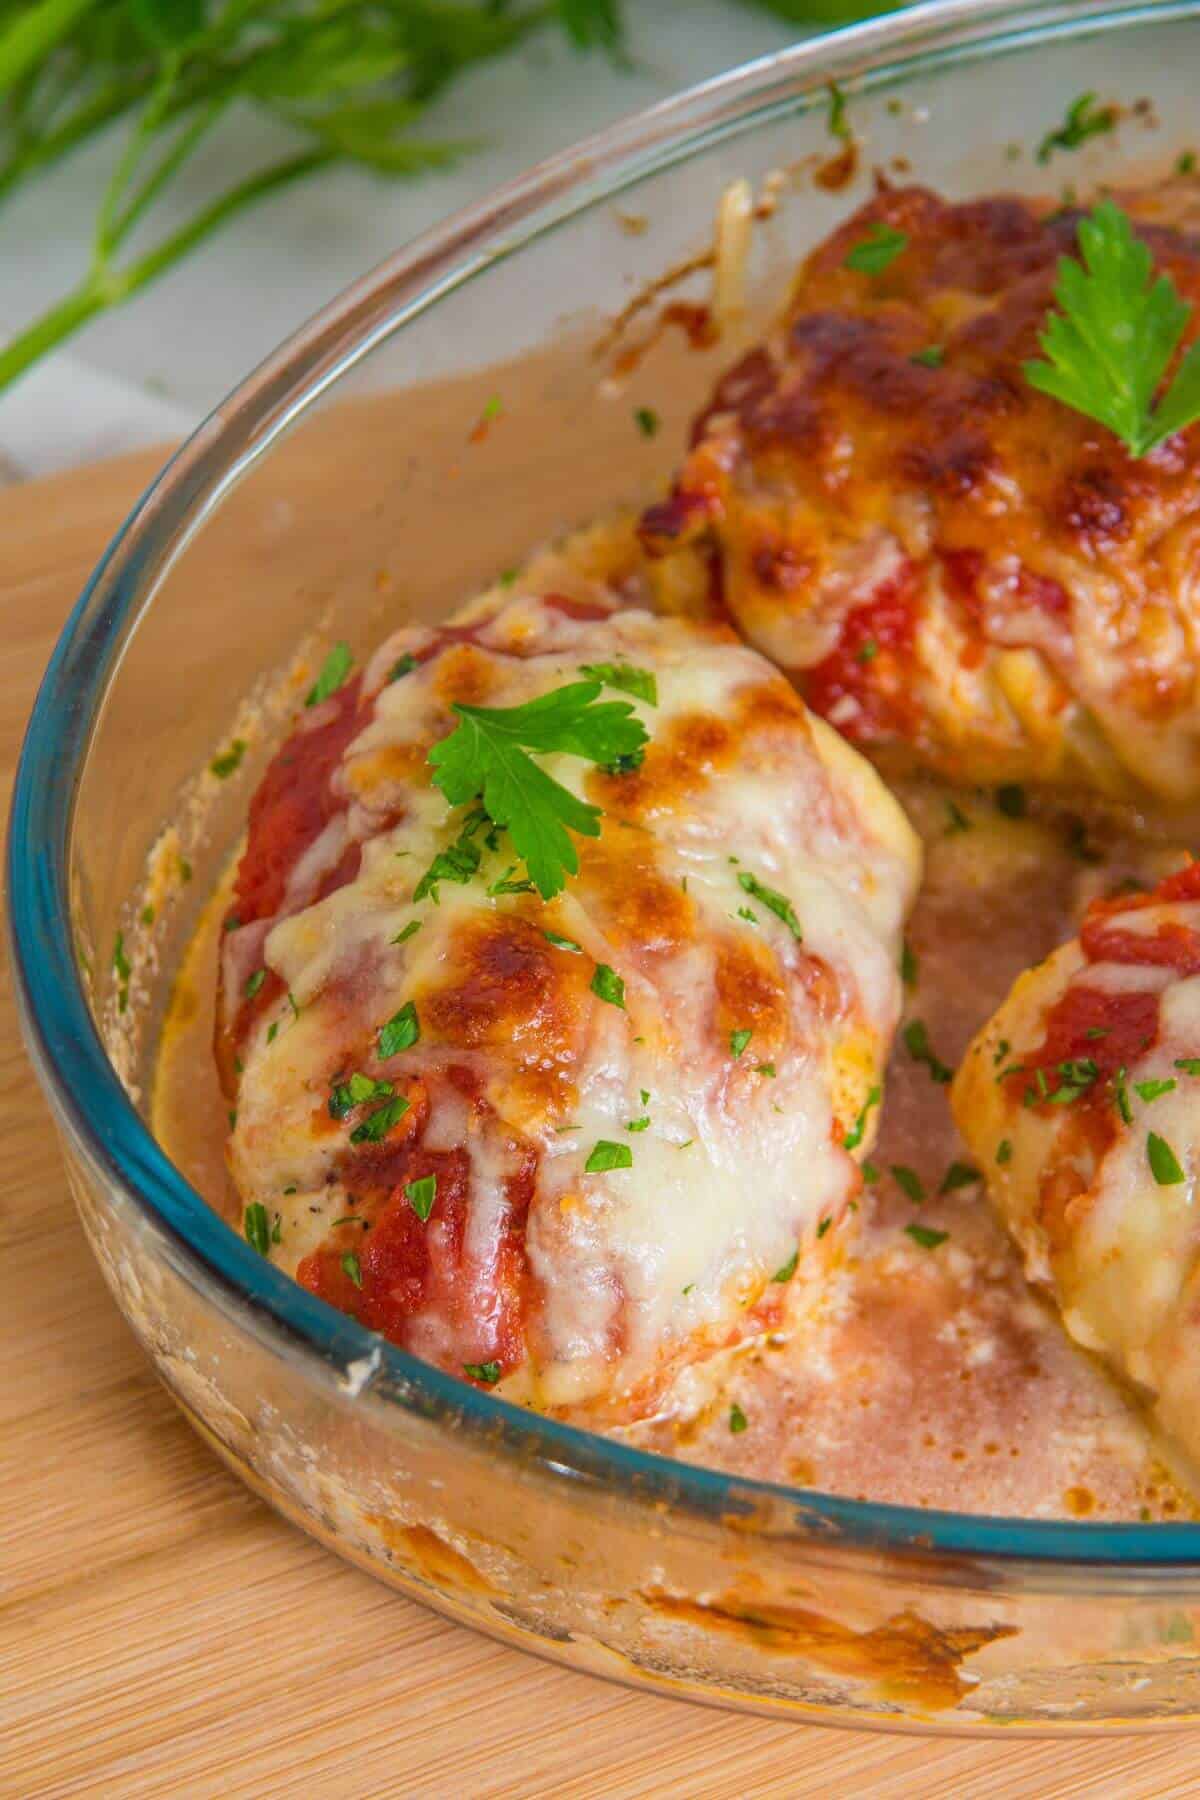
A Quick Look At The Recipe
- ⏲️Ready In: 55 Minutes
- 👪Serves: 4
- 🍽 Calories: 474 kcals
- 📋Main Ingredients: Chicken breasts, seasonings, tomato sauce, ham, and mozzarella cheese.
- 📖 Dietary Notes: Gluten-free and nut-free.
- ⭐ Why You’ll Love It: These cheesy chicken breast roll ups are creamy, comforting, and easy enough to make for a simple weeknight dinner.
SUMMARIZE & SAVE THIS CONTENT ON
These baked chicken roll ups are a family favorite because they feel a little more special than plain chicken without adding a ton of extra work. Pounding the chicken evenly helps it cook more consistently and keeps the roll-ups juicy instead of dry, while the creamy filling adds tons of flavor in every bite (kinda like Longhorn steakhouse mac and cheese).
The roll ups also work for leftovers and meal prep lunches. They reheat surprisingly well the next day, and you can easily switch up the fillings depending on what you have on hand. They also pair perfectly with lighter vegetable sides like these air fryer garlic butter green beans when you want a more balanced weeknight dinner.
Jump to:
Why The Recipe Works💭
Even cooking: Flattening the chicken helps it cook evenly while keeping the roll-ups tender and juicy.
Juicy not dry: The creamy, cheesy filling keeps the inside flavorful, so the chicken never feels boring or dry.
Impressive but simple: The recipe tastes like you put SO much effort in, but is still simple enough for busy weeknight dinners, these Hawaiian bread meatball sliders are great for this too.
Ingredients and Substitutions
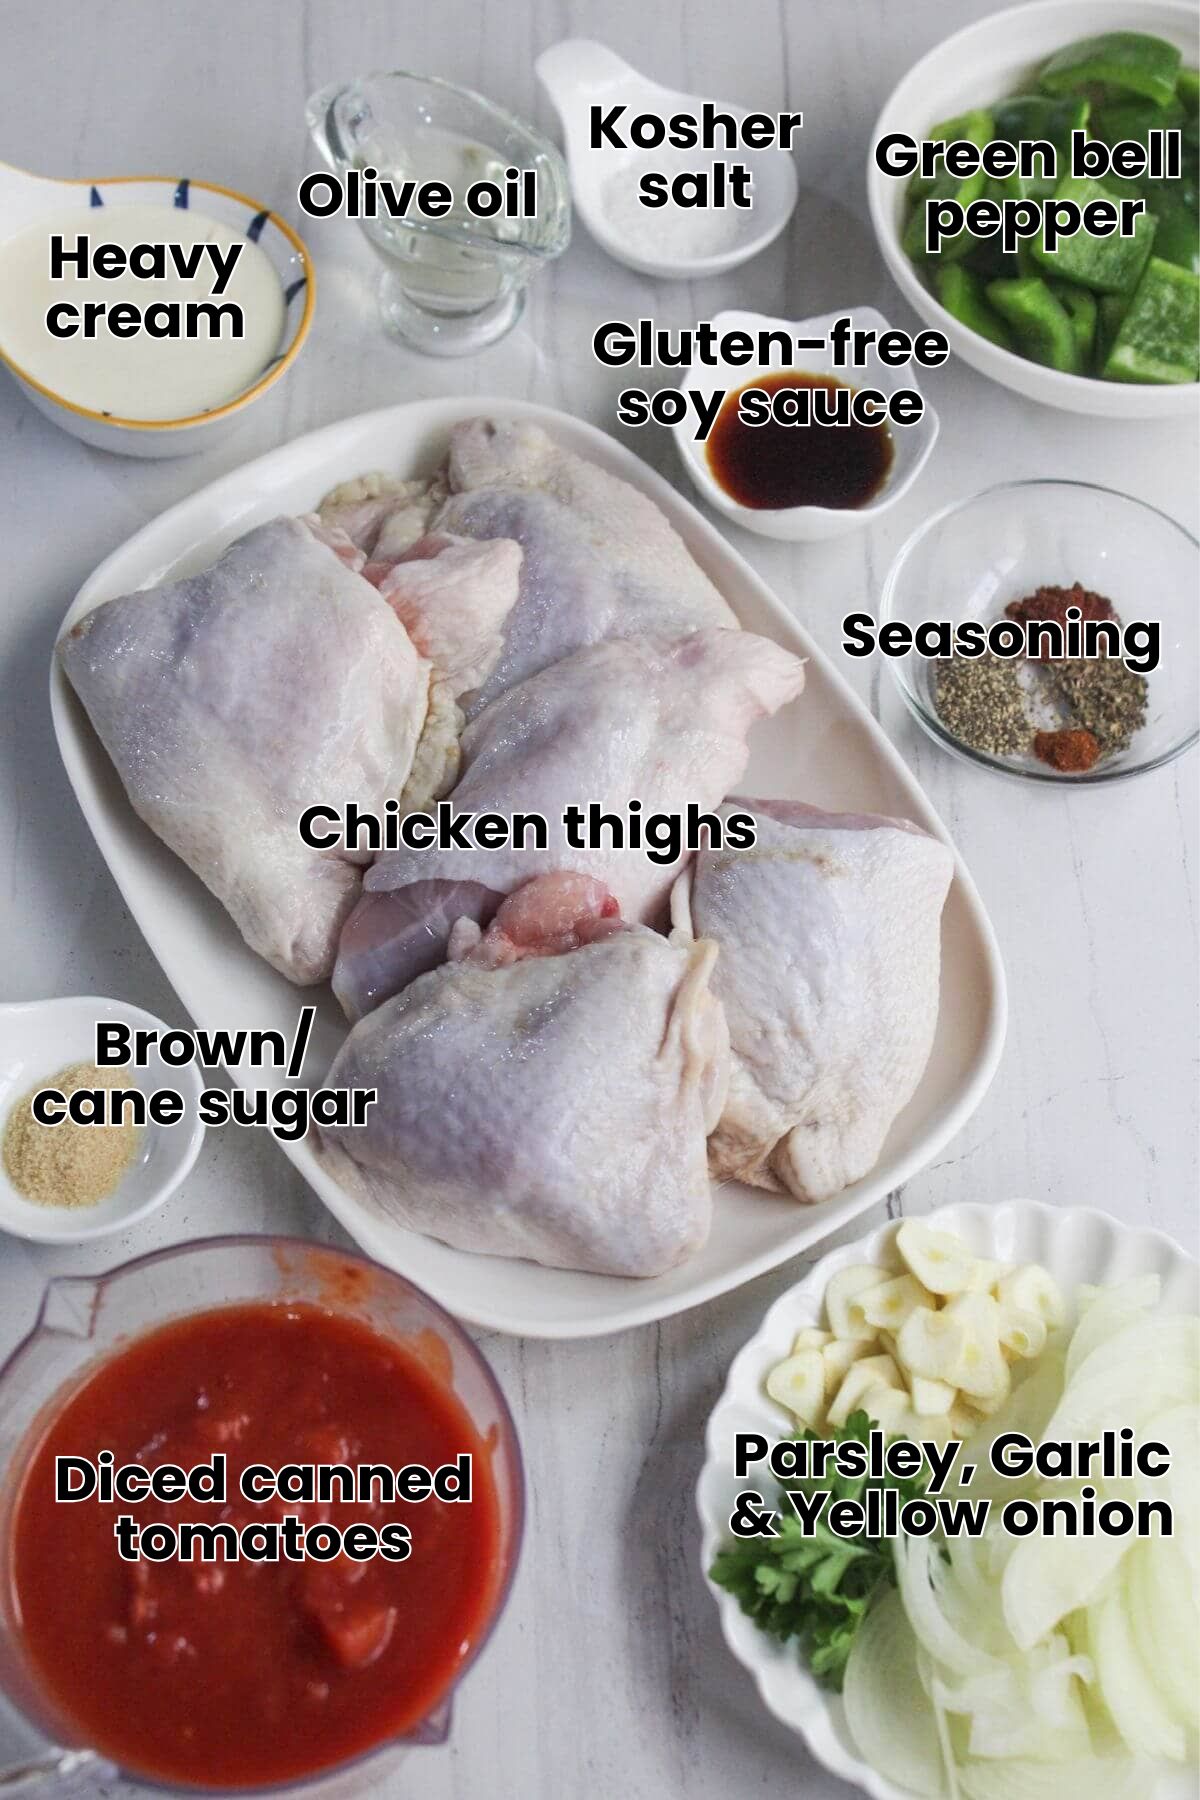
- Chicken breasts: Leaner cuts of meat work better for the easy chicken roll-up recipe. Chicken thighs tend to release too much juice and water everything down.
- Shredded mozzarella cheese: I find this cheese pairs best with chicken, but any cheese you have on hand will work. This cheesy salsa meatloaf is also a delicious one for kiddos who love cheesy dishes.
- Ham: Layering on the ham is my kids’ favorite. Swap for honey ham for a sweeter taste.
- Cream cheese: Make sure that the cream cheese is softened before you need it so that it smears easily.
See the recipe card for full information on ingredients and quantities.
Flavors To Try
Below are a few ways you can tweak the make-ahead chicken roll-ups to create new tastes for your family.
- Sauce Alternatives: Try Alfredo sauce, pesto, or even a spicy marinara to give the roll-ups a unique twist.
- Meat Options: Use turkey breasts instead of chicken for a lighter, leaner option.
- Veggie Add-ins: Include spinach, mushrooms, or bell peppers in the filling to add texture and nutrients.
- Extra Crunch: Coat the chicken in breadcrumbs before baking for a crispy, golden exterior.
How To Make Chicken Roll Ups
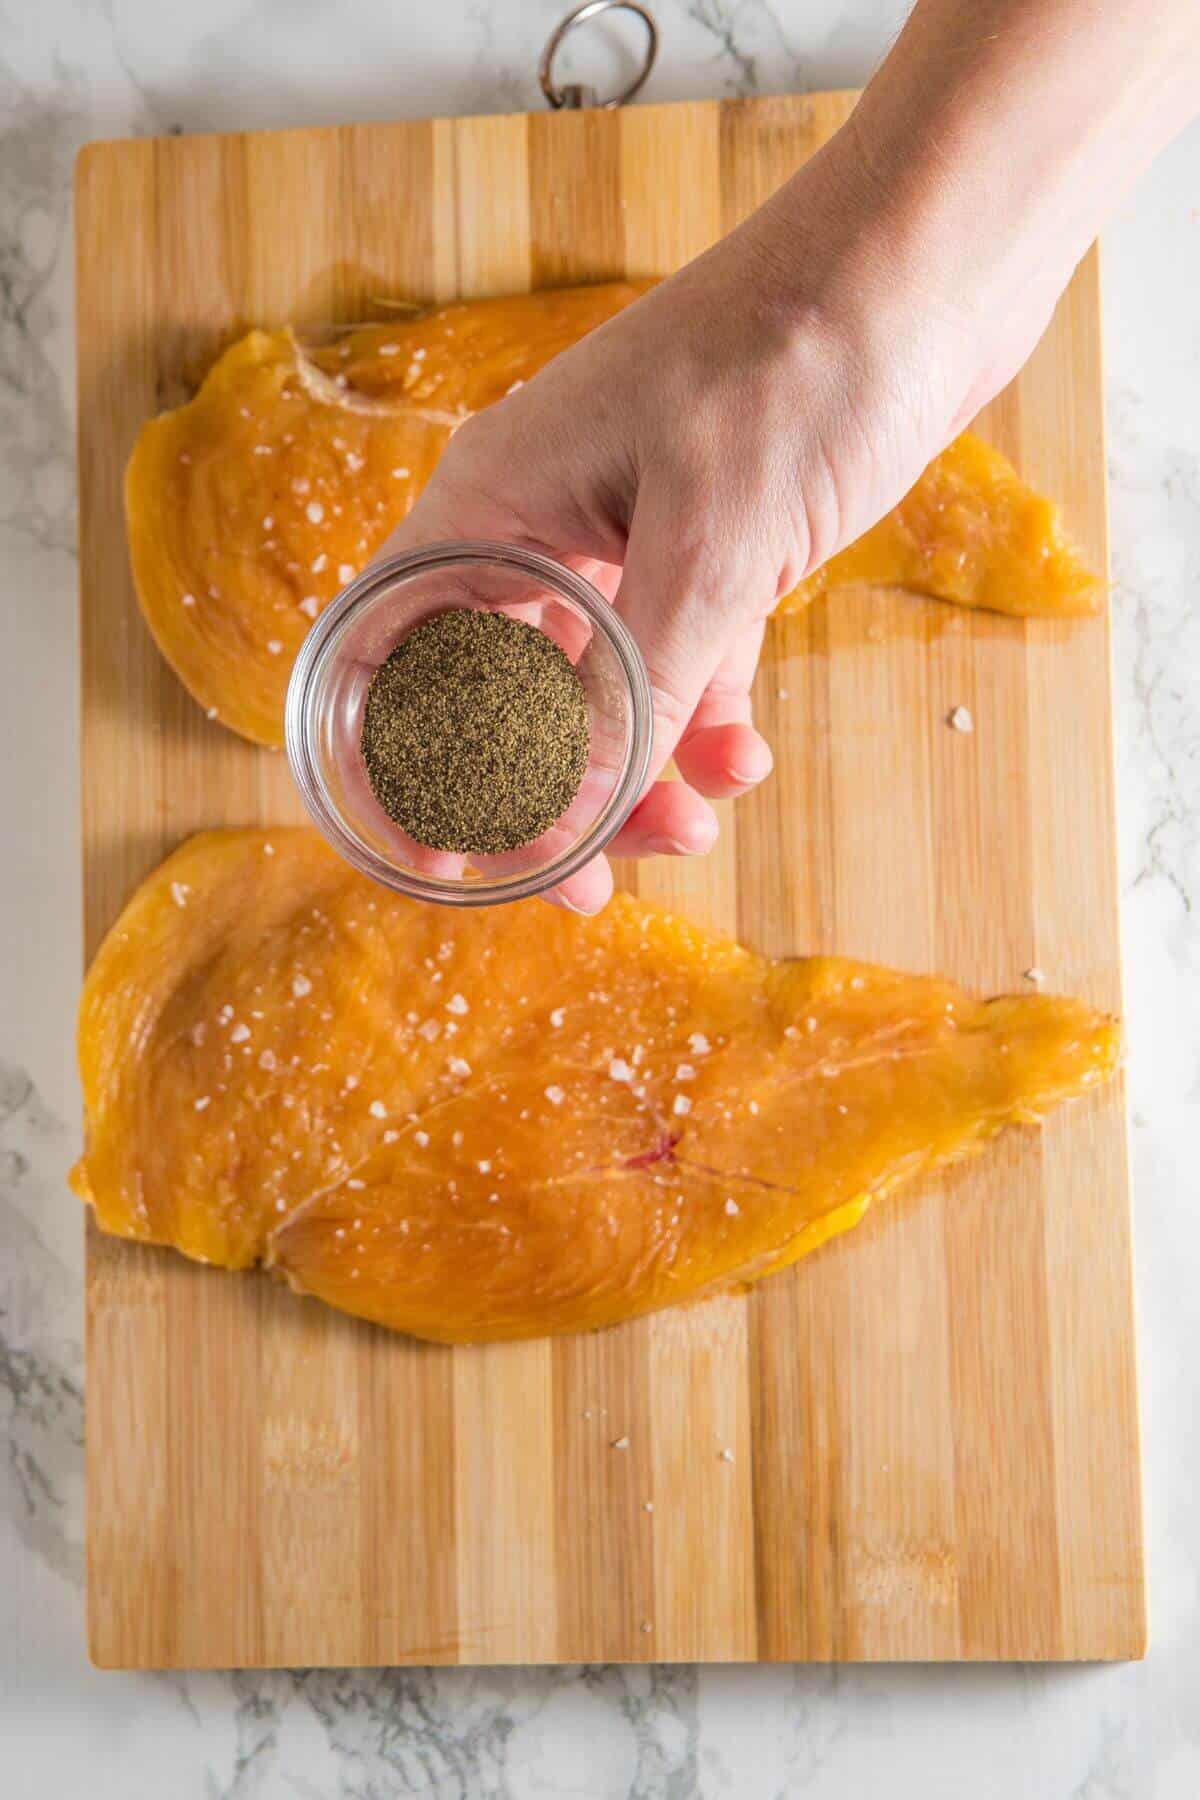
Step 1: Halve the chicken breasts horizontally and flatten them with a mallet before seasoning with salt and pepper.

Step 2: Spread one tablespoon of cream cheese on each chicken fillet and sprinkle on the garlic and parsley.
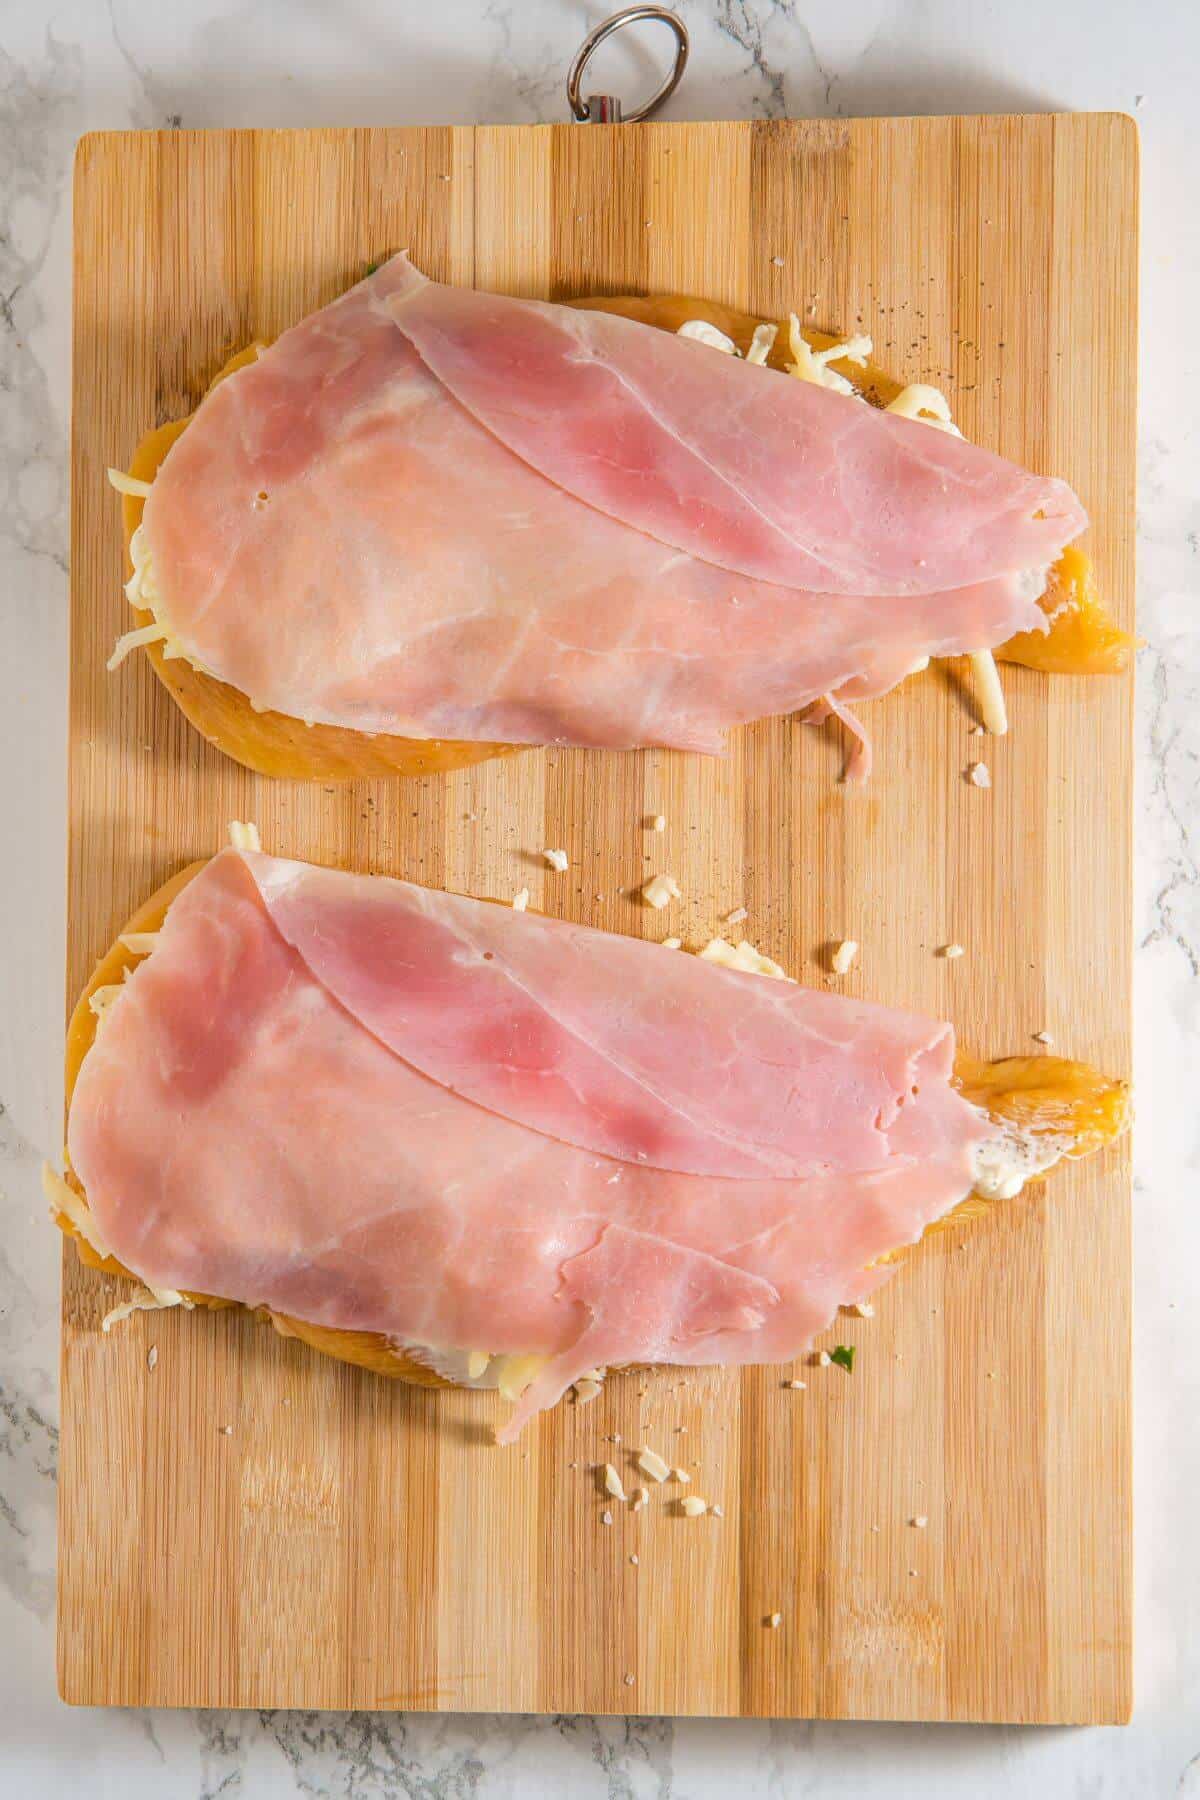
Step 3: Add a small amount of mozzarella to each fillet and then place one slice of ham on each.
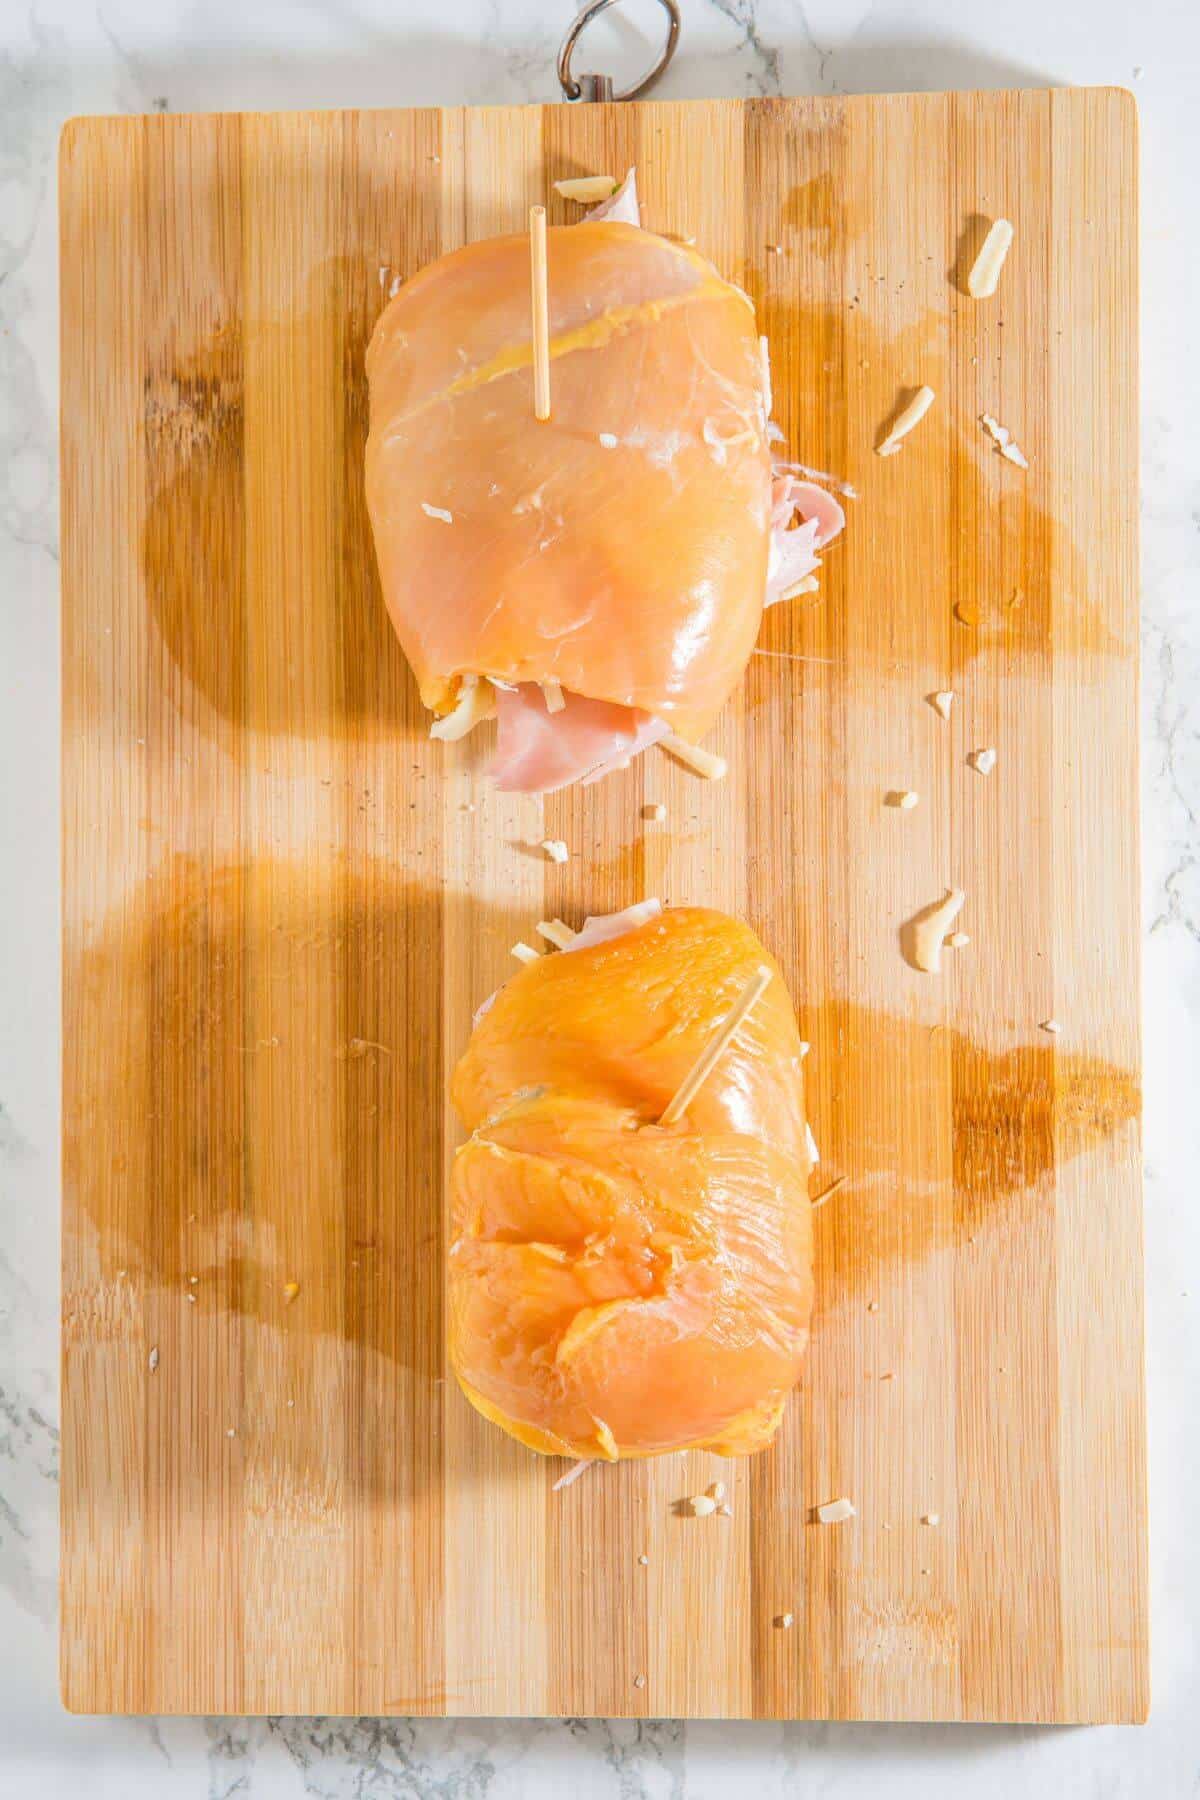
Step 4: Roll up each chicken fillet from one end, forming a roll. Secure each roll with a toothpick and place it in a baking dish.

Step 5: Pour some tomato sauce over the roll-ups and bake them for 20 minutes. Then pour the rest of the tomato sauce on top, followed by the mozzarella.

Step 6: Increase the oven temperature and bake for an additional 15 minutes, or until the cheese is golden and melted. Sprinkle on fresh parsley and serve.
Note
Make sure to evenly flatten the chicken with a meat mallet to ensure uniform cooking and prevent thick areas in the roll-ups.
Helpful Hints
Pro tip: Flatten Chicken Evenly
Flattening the chicken evenly ensures it cooks uniformly, preventing any thick spots that might remain undercooked. Use a meat mallet to gently pound the chicken to an even thickness for the best results.
Here are some helpful hints for making the perfect chicken roll ups.
- Season: For extra flavor, season with your favorite spices before rolling them up.
- Don’t overfill: Overfilling the chicken can make rolling more difficult and cause filling to leak during baking.
- Secure the roll-ups: To avoid the cheese from oozing out, be sure to secure the roll-ups tightly with toothpicks.
- Check for doneness: Don’t skip checking the internal temperature; it should reach 165°F (74°C) to ensure the chicken is fully cooked.
- Storing leftovers: Once cooled, place them in an airtight container and refrigerate for up to 3 to 4 days. For longer storage, you can freeze them in a tightly sealed container or freezer bag for up to 3 months. Thaw in the fridge before you need them
- Reheating: Warm them in the oven at 350°F (175°C) for about 15 to 20 minutes, or until heated through.
How To Serve Them
Chicken roll ups pair well with everything from lighter salads to hearty comfort-food sides, making them easy to enjoy any time of year. Here are a few of our go-tos.
- Serve them with fresh salads like this strawberry spinach salad with lemon dressing when you want something lighter to balance the creamy filling.
- Pair them with comfort-food favorites like these loaded smashed potatoes in the air fryer for a filling family dinner.
Chicken Roll Ups FAQs


More Easy Dinner Recipes
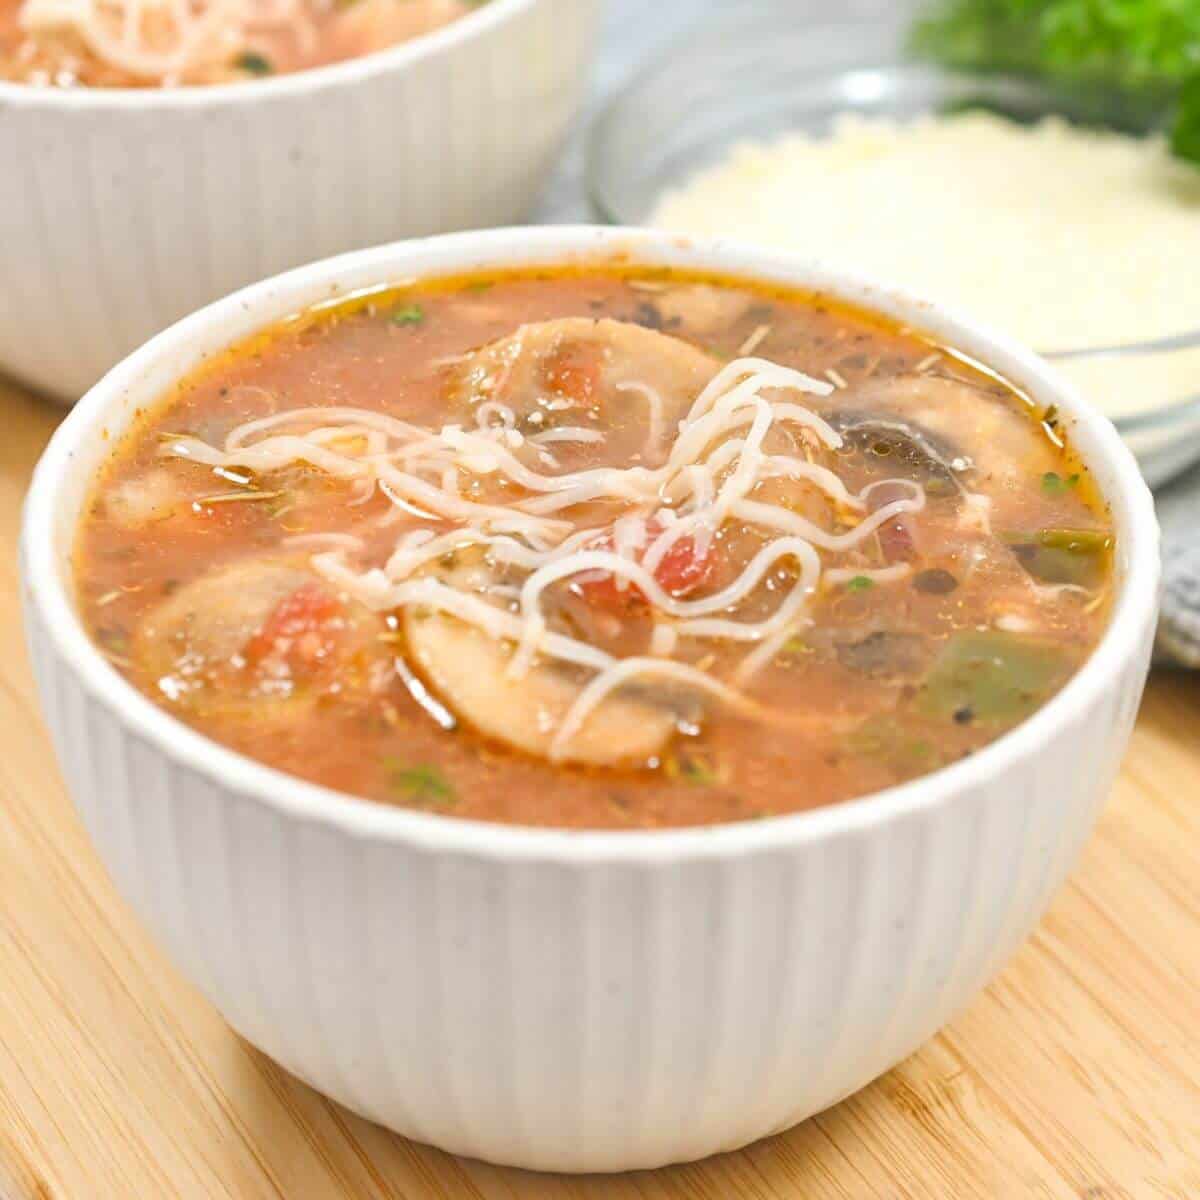
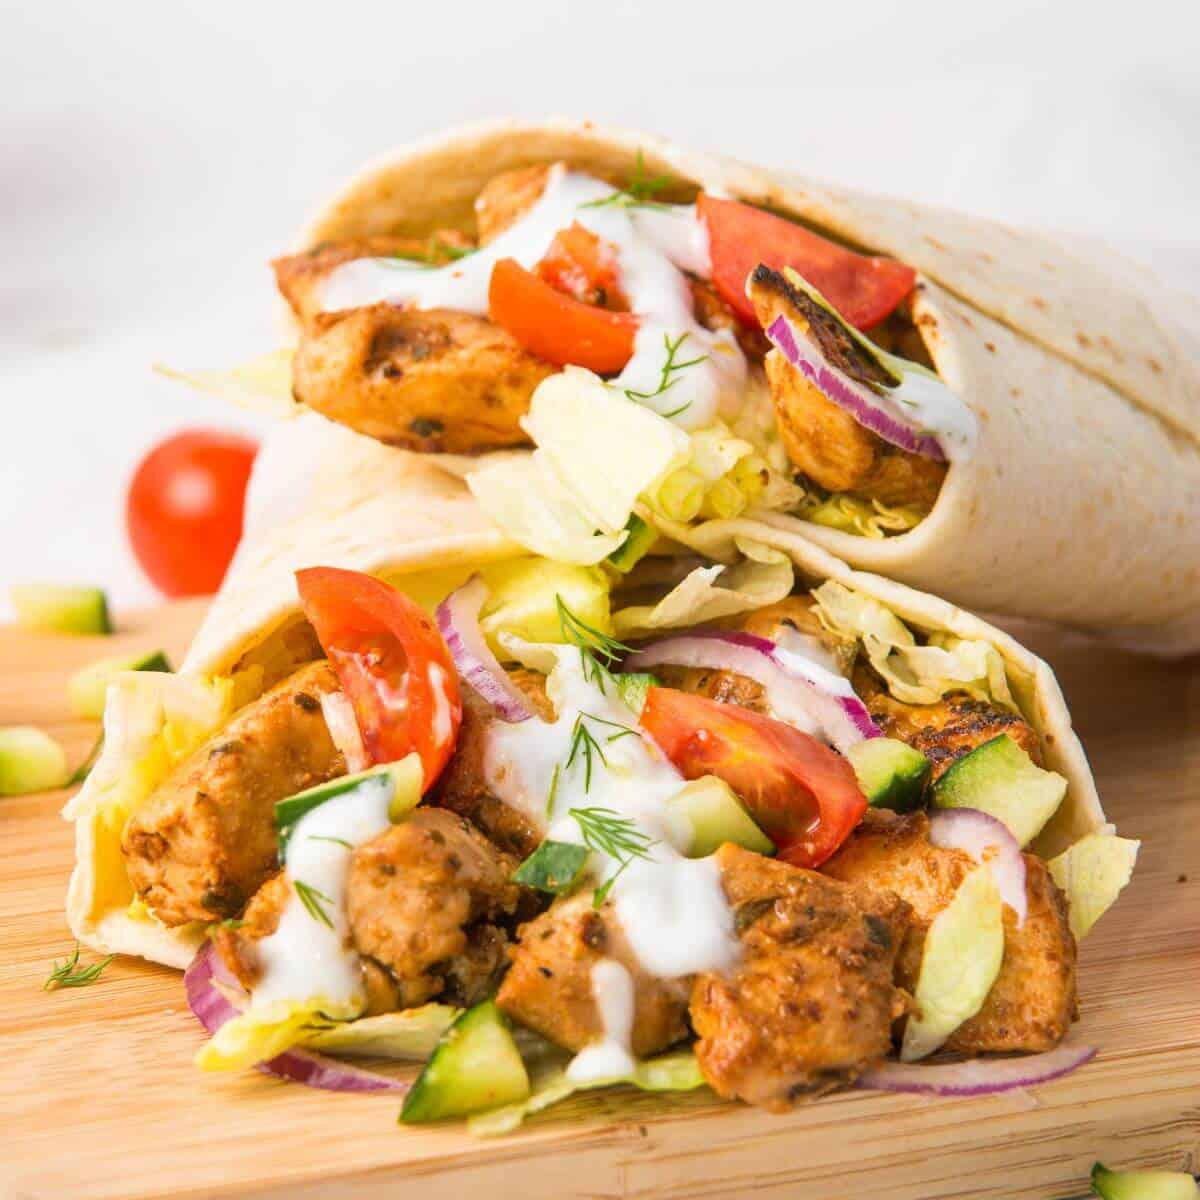

If you tried this Chicken Roll Ups Recipe or any other recipe on my blog, please leave a 🌟 star rating and let me know how it goes!
Chicken Roll-Ups with Ham
Ingredients
- 2 chicken breasts
- 2 ½ cups shredded mozzarella cheese
- 1 cup tomato sauce
- 1 tablespoon parsley chopped
- 2 garlic cloves minced
- ¼ teaspoon pepper
- Salt to taste
- 4 slices of ham
- ¼ cup cream cheese
Instructions
Prepare the chicken breasts:
- Preheat the oven to 375°F (190°C).
- Halve the chicken breasts horizontally to get 4 fillets. Lay the chicken fillets on a cutting board and season with salt and pepper to taste.
- Spread one tablespoon of cream cheese on each chicken fillet evenly.
- Sprinkle some minced garlic and chopped parsley over the cream cheese.
- Add a small amount of shredded mozzarella cheese on top of the garlic and parsley.
- Place a slice of ham on each fillet.
- Roll up each chicken fillet from one end, forming a roll. Secure each roll with a toothpick to keep it from unraveling.
- Place the roll-ups in a baking dish and pour a small amount of tomato sauce over them.
- Bake the roll-ups in the preheated oven for 20 minutes and then remove the dish from the oven.
- Pour more tomato sauce over the roll-ups and sprinkle the remaining shredded mozzarella cheese on top.
- Increase the oven temperature to 400°F (200°C) and bake for an additional 15 minutes, or until the cheese is golden and melted.
- Remove the roll-ups from the oven and sprinkle fresh parsley on top. Serve hot and enjoy.
Video
Notes
internal temperature reaches 165°F (74°C). For a crispy finish, broil the for the last few minutes of baking
Nutrition
Equipment
- Meat mallet
- Heat-resistant toothpicks
- Oven
- Small pouring cup or spoon
- Grater (optional)
- knife (optional)
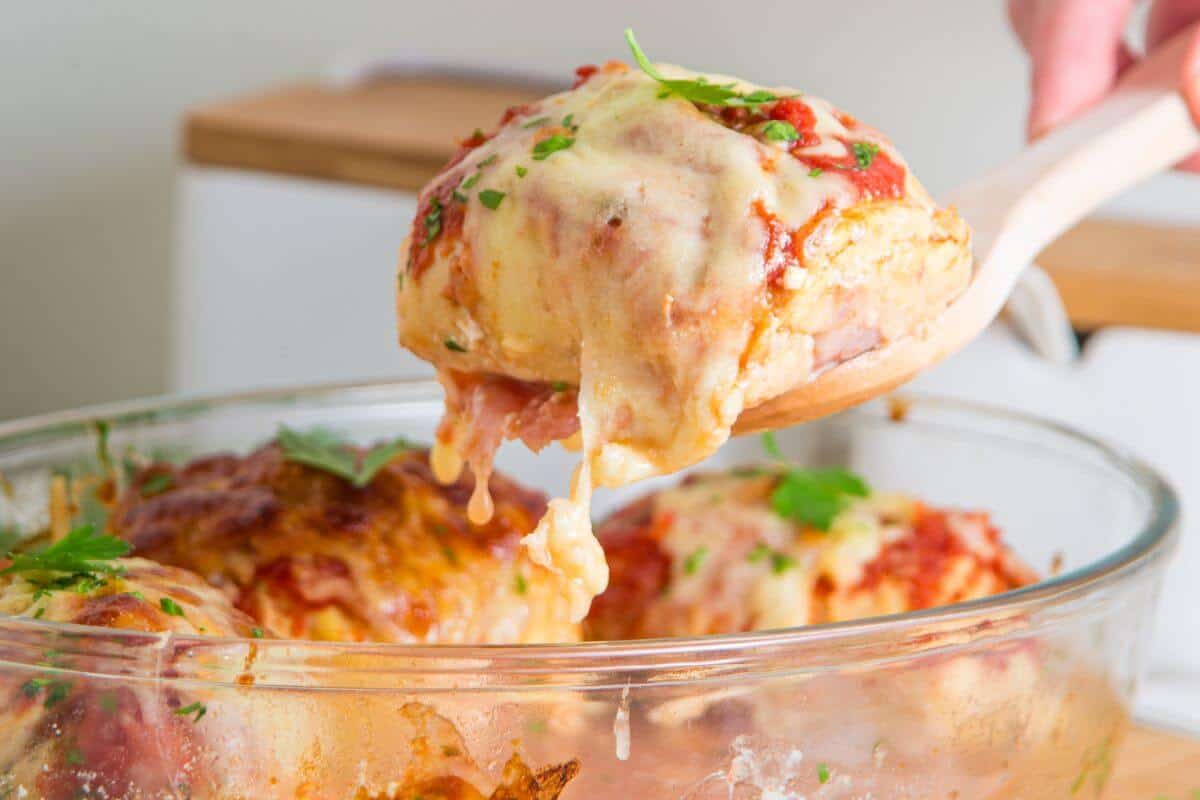
The juicy chicken with the ham rolled in is pure savory flavor.