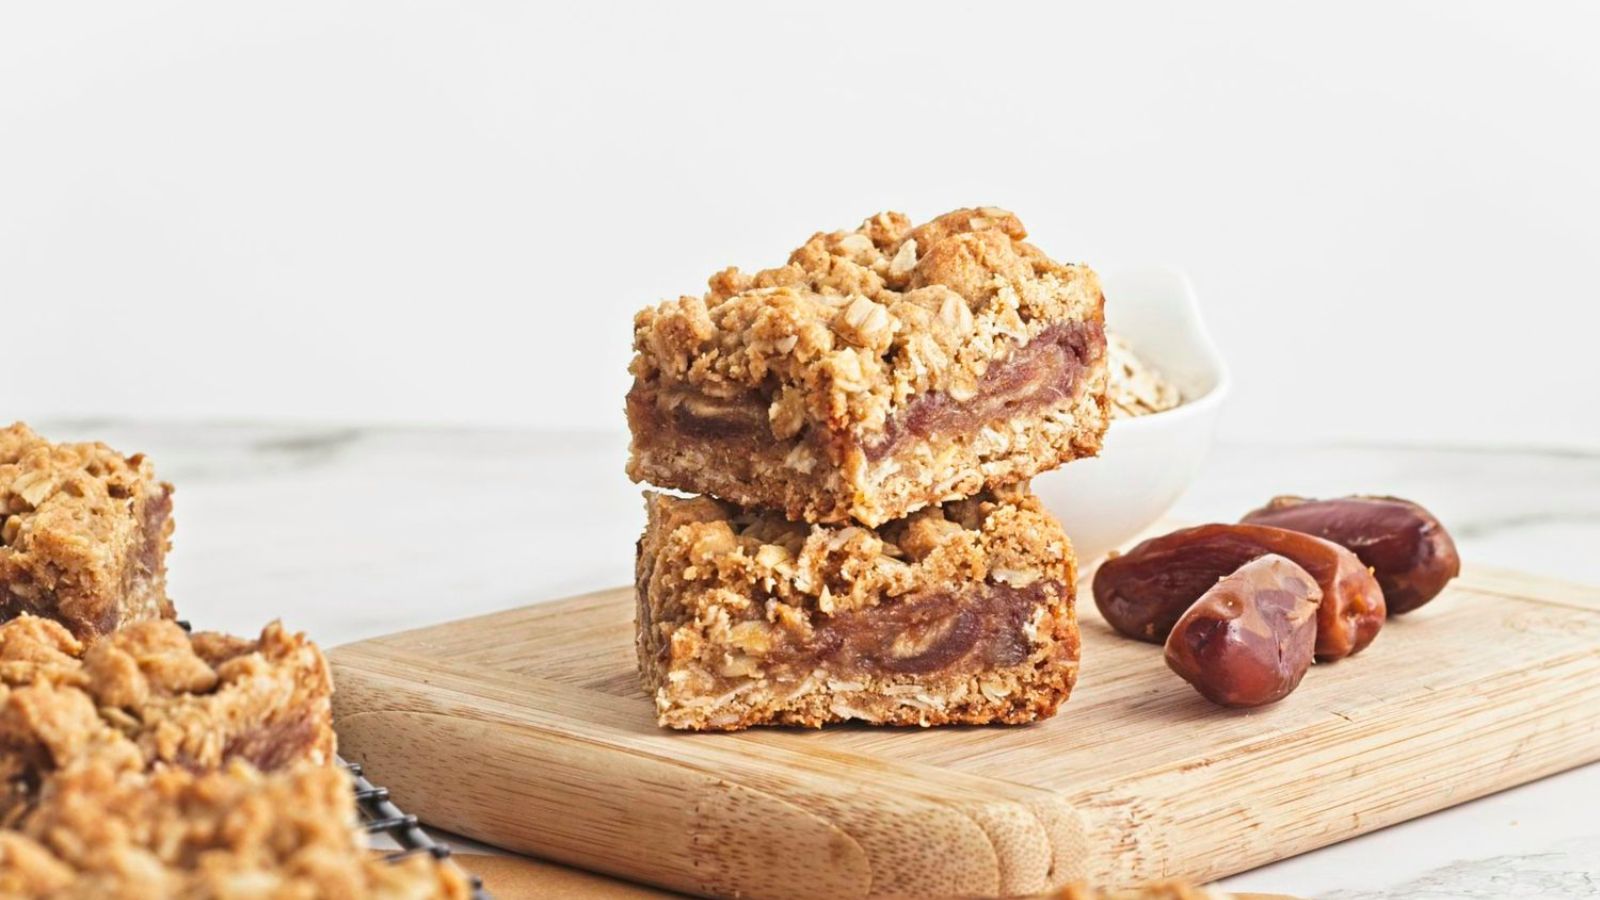
Date and Oat Bars

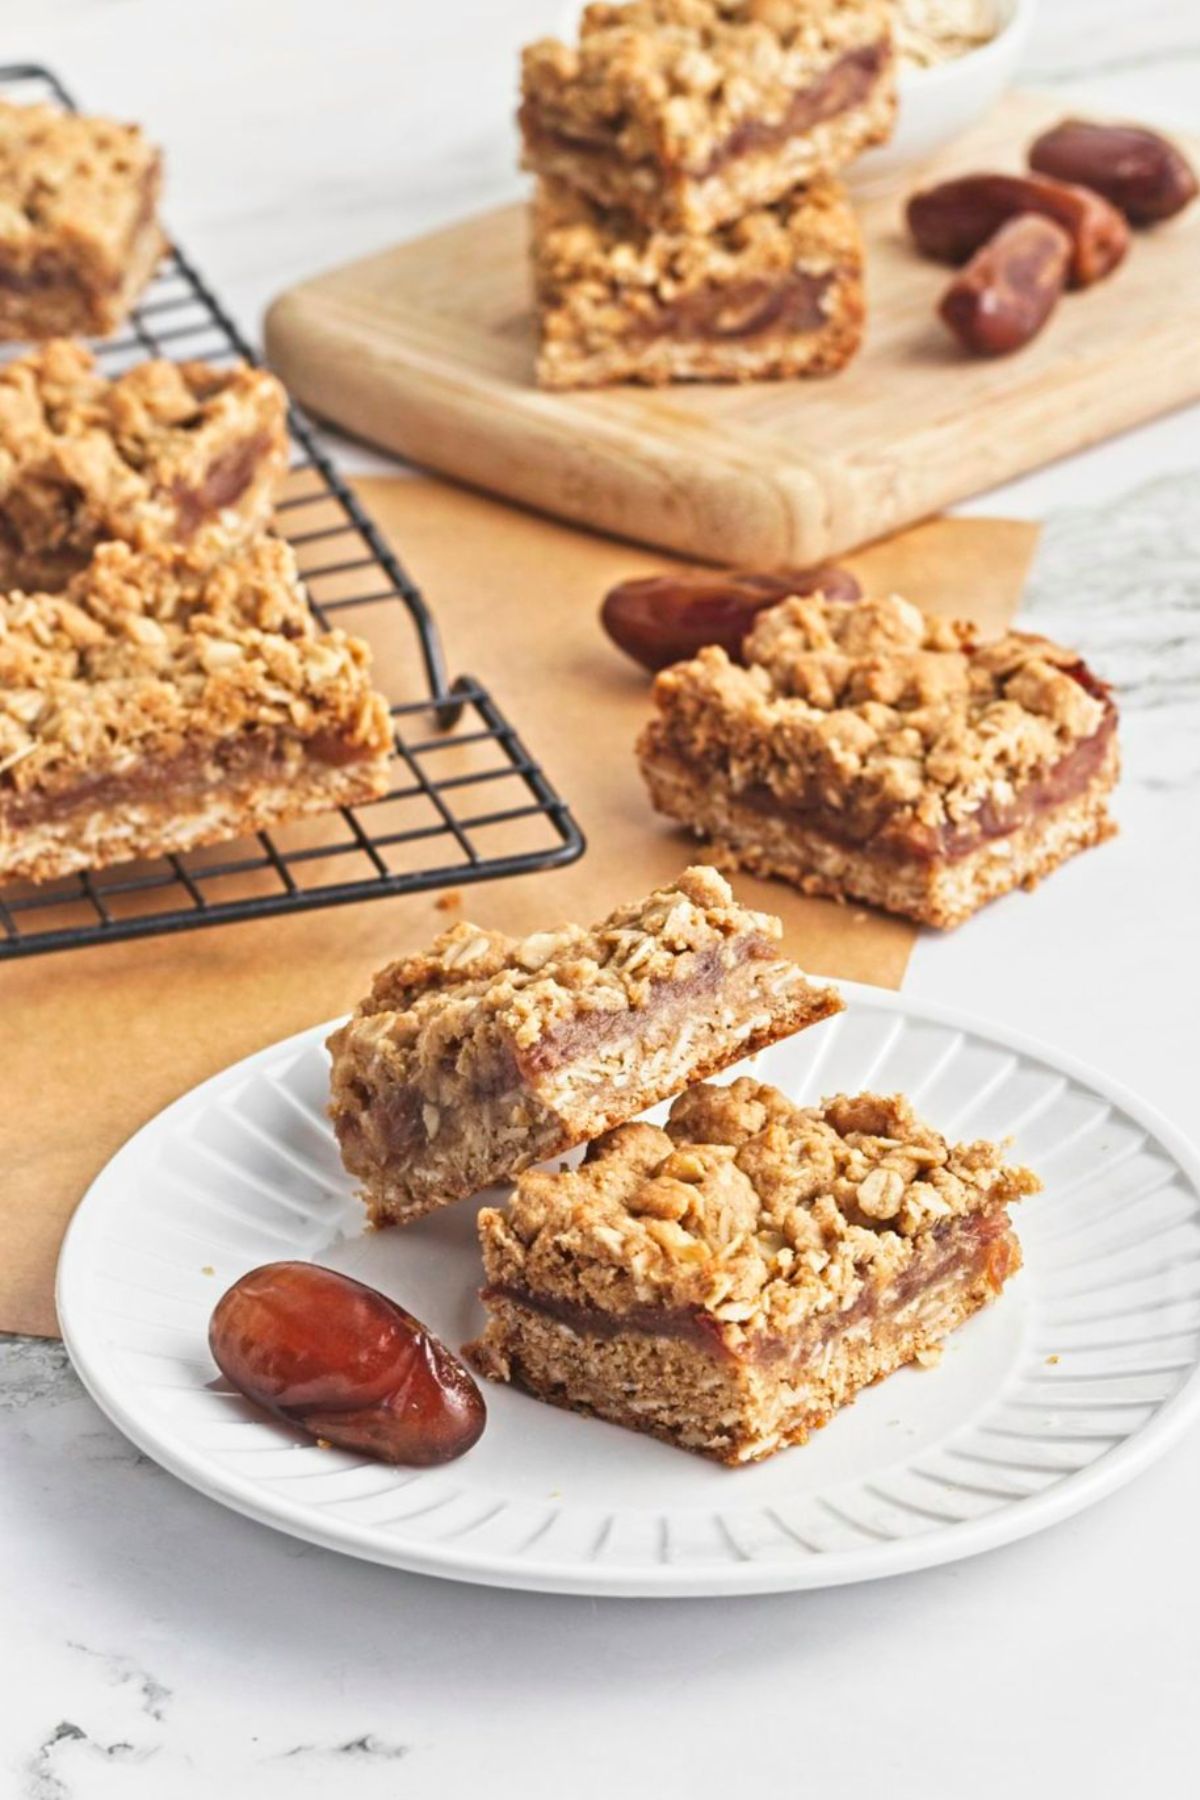
These Date and Oat Bars have layers of gooey filling pressed between a crisp oat crumble for maximum flavor. They’re a delicious make-ahead snack or simple dessert to bring to any sports practice or potluck.
A Quick Look At The Recipe
- ⏲️Ready In: 40 Minutes
- 👪Serves: 12-16
- 🍽 Calories: 258 kcals
- 📋Main Ingredients: Rolled oats, dates, lemon juice, brown sugar, seasonings, and coconut oil.
- 📖 Dietary Notes: Dairy-free and vegan; can also be made gluten-free.
- ⭐ Why You’ll Love It: These date bars have soft, gooey centers and a crisp oat crumble that everyone enjoys.
SUMMARIZE & SAVE THIS CONTENT ON
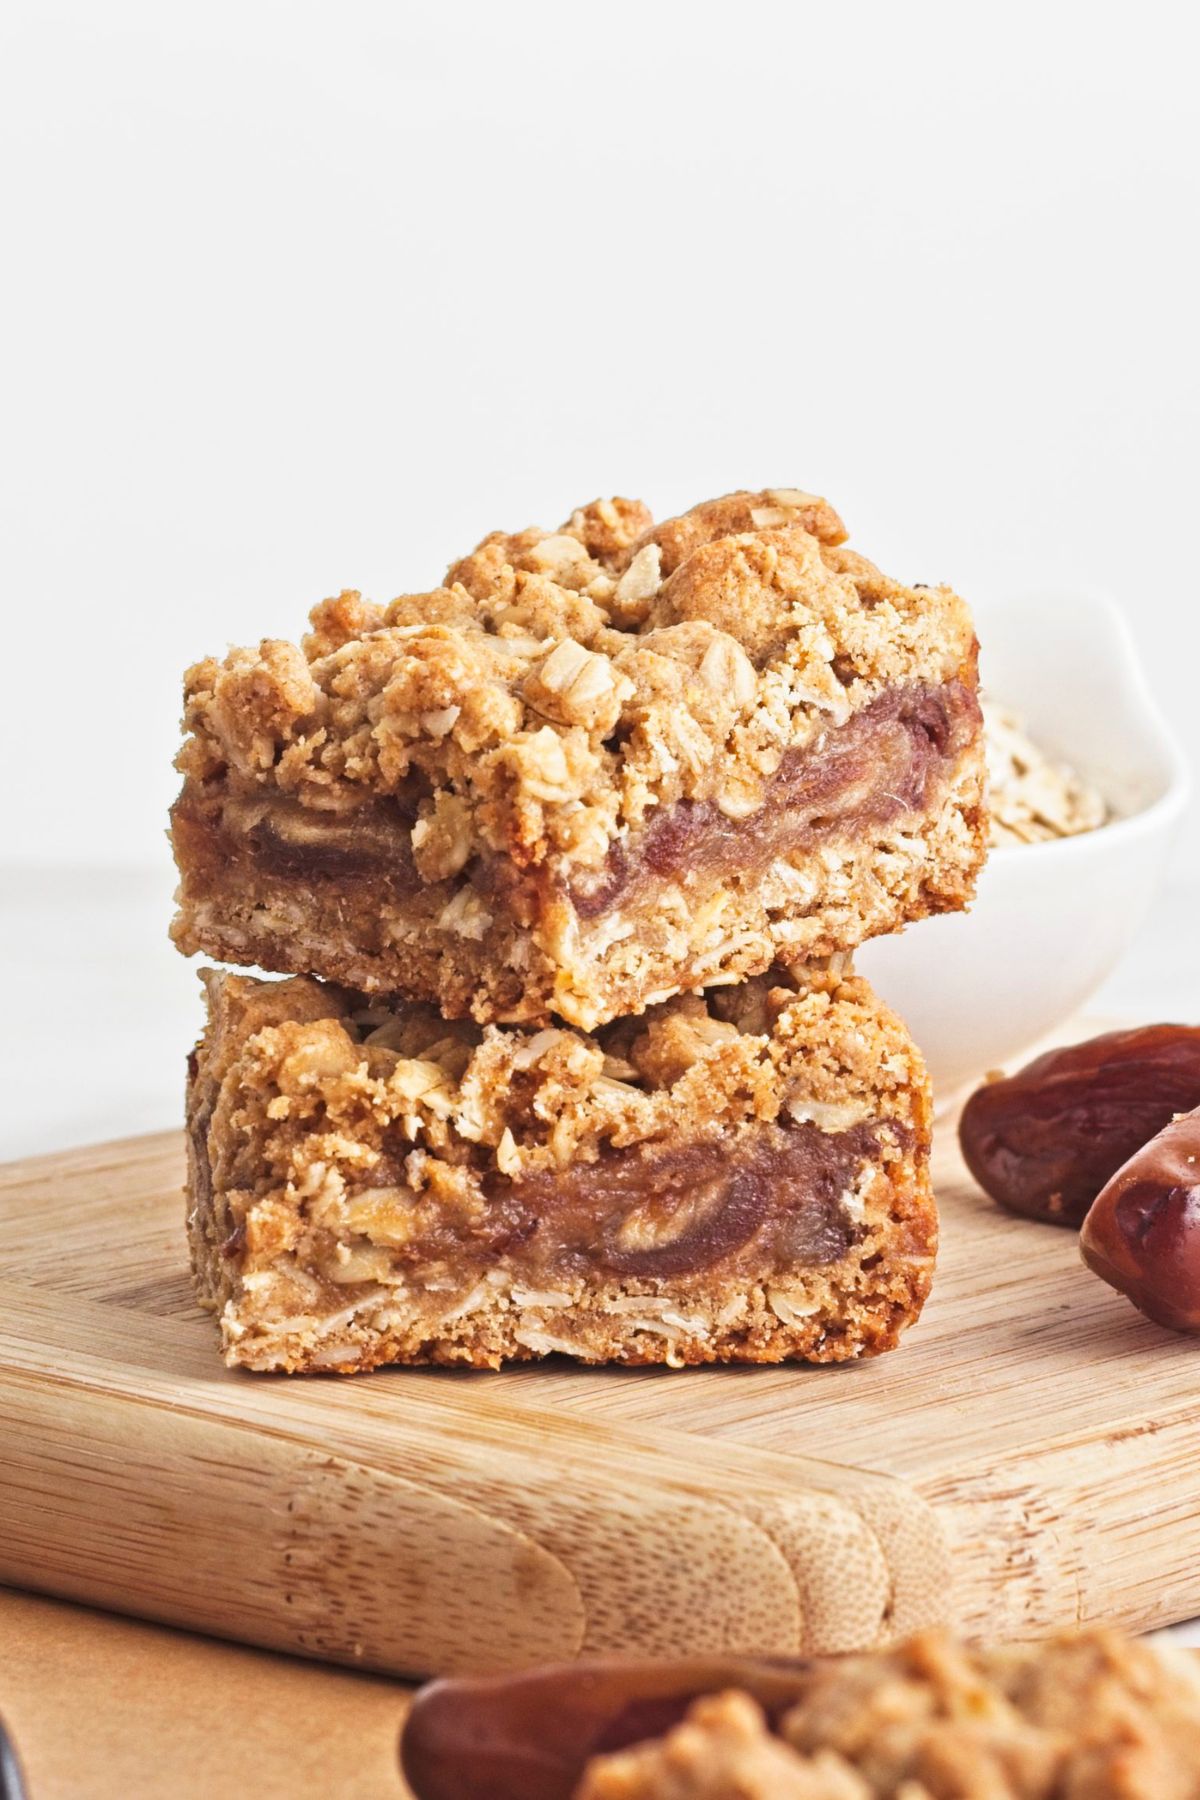
These make-ahead date oat bars are the kind of snack I love having ready when I know we have a packed week ahead (or a weekend baseball tournament!). The sweet, almost caramel-like date filling sits between two crisp cinnamon-based oat layers to make the perfect texture.
I’ll make a batch ahead and cut them into squares so everyone can grab one when they need it: after school or packed up for games, because somehow someone is always hungry five minutes after we leave the house. I’ve started doing the same with these 5-ingredient no-bake oatmeal bars and cinnamon roll energy bites, so there’s always an easy homemade snack ready to go.
Jump to:
- A Quick Look At The Recipe
- What Makes Them Different 💭
- Ingredients and Substitutions
- Flavors To Try
- How To Make Date and Oat Bars
- Helpful Hints
- How To Store Them
- How To Serve The Bars
- Date and Oat Bars FAQs
- More Easy Dessert Recipes
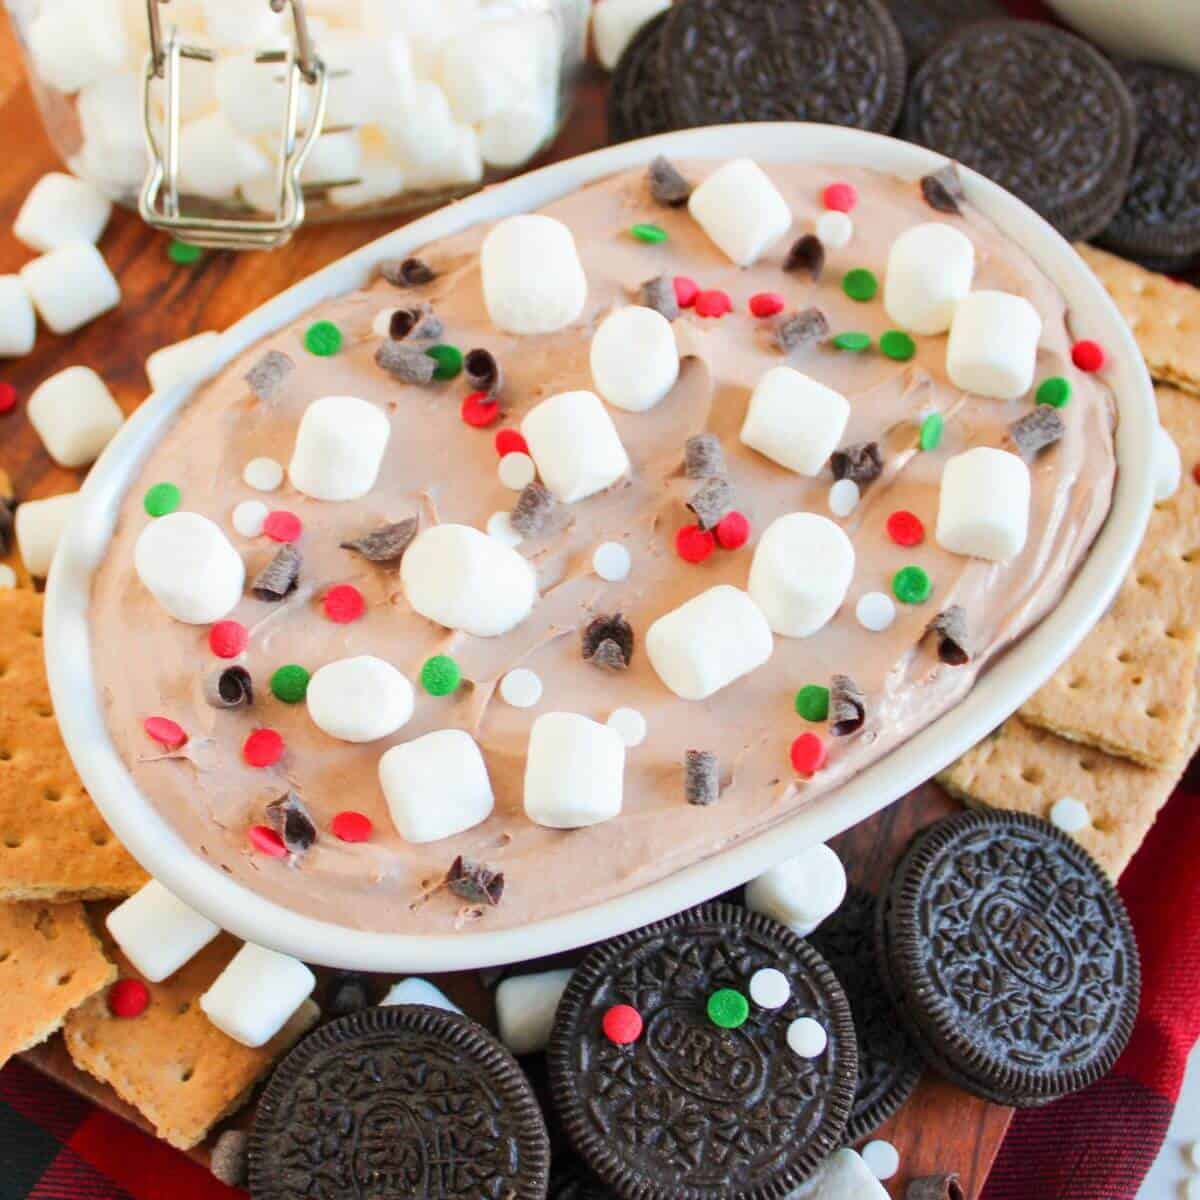
- Hot Cocoa Dip With Marshmallow Fluff
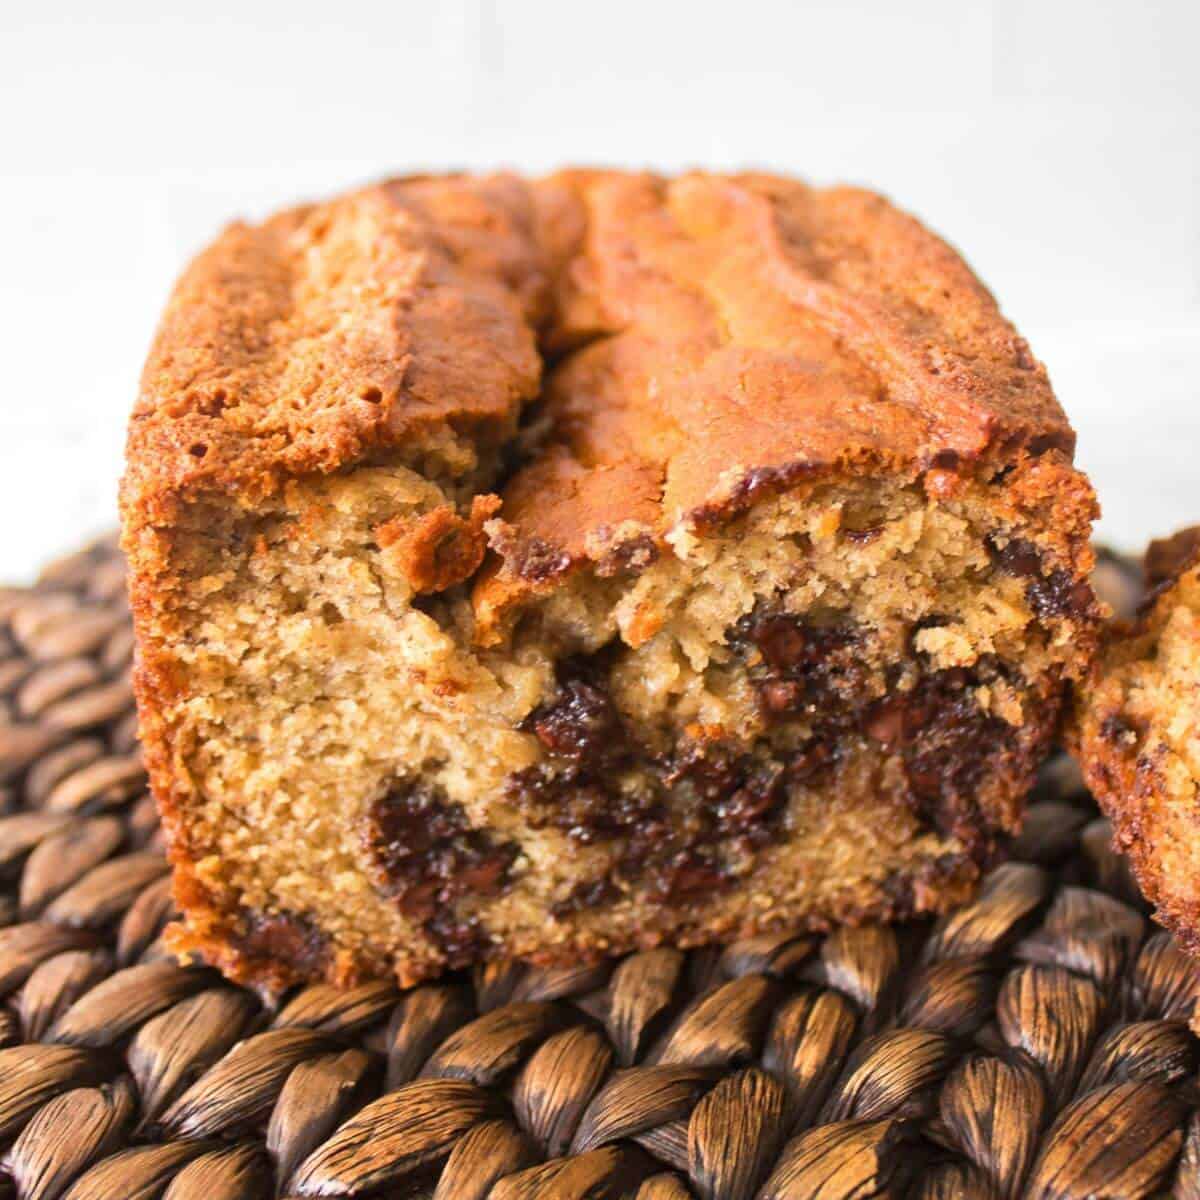
- Chocolate Chip Banana Bread No Oil [2 Bananas]
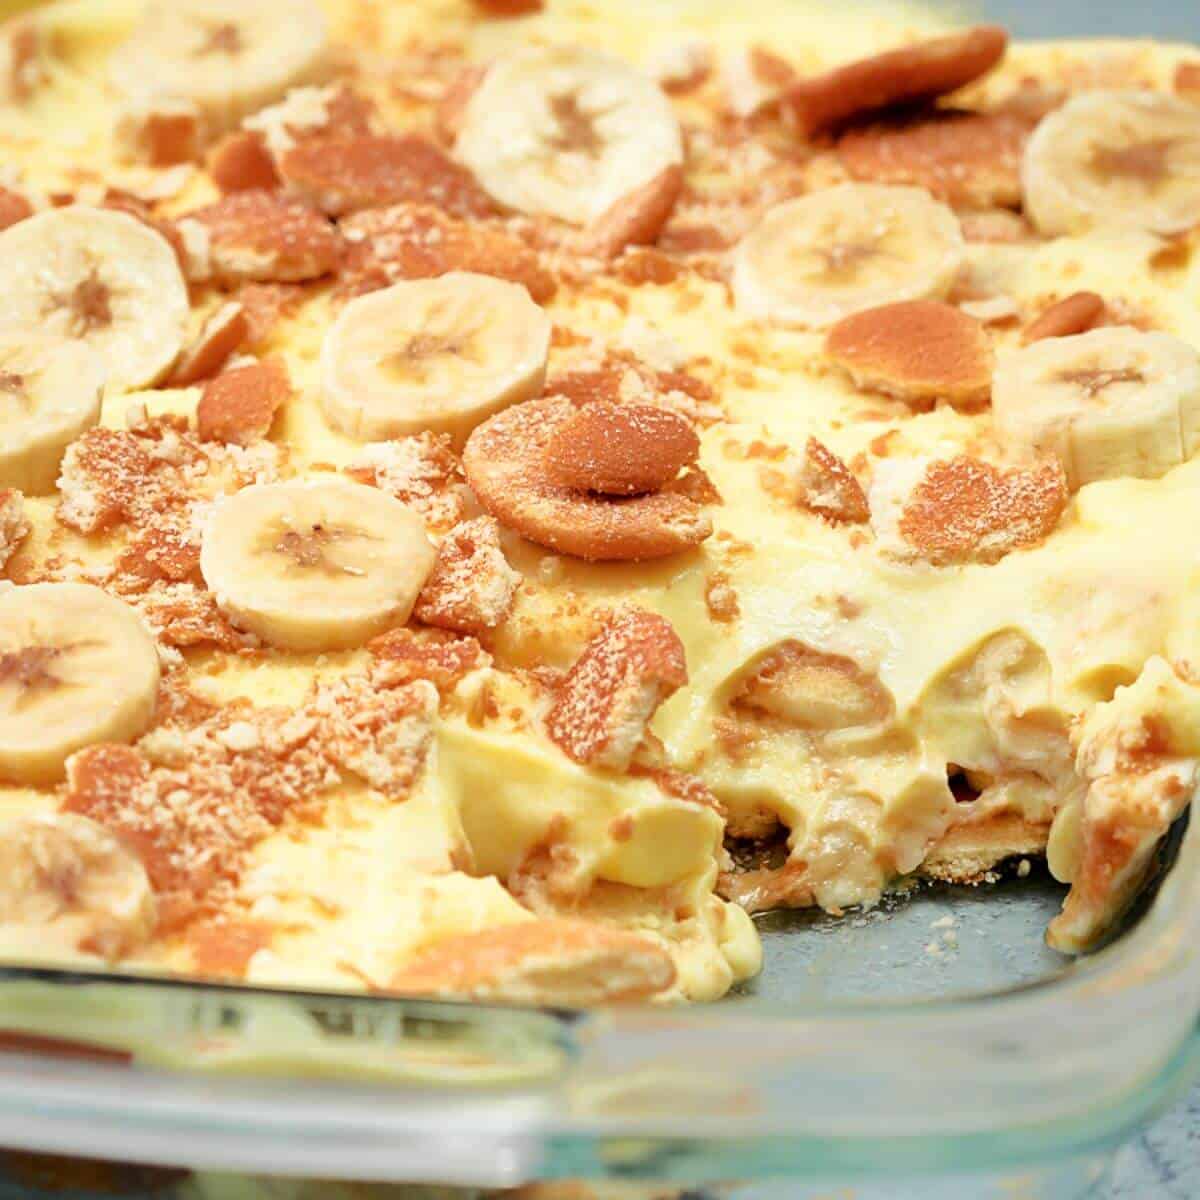
- 4-Ingredient Banana Pudding With Cool Whip
- Date and Oat Bars
What Makes Them Different 💭
The filling: It’s super simple (just 3 ingredients), but the way they’re cooked makes a sticky, thick paste with a subtle caramel taste.
Texture: A blend of gooey centers and crisp edges. Since they’re oat-based, the bars also hold up as a handheld snack with just a bit of crumble on top.
On the go: Once cooled and stored, the easy date and oat bars are easy to pack for school (along with blender muffins with Greek yogurt) or sports practice.
Ingredients and Substitutions
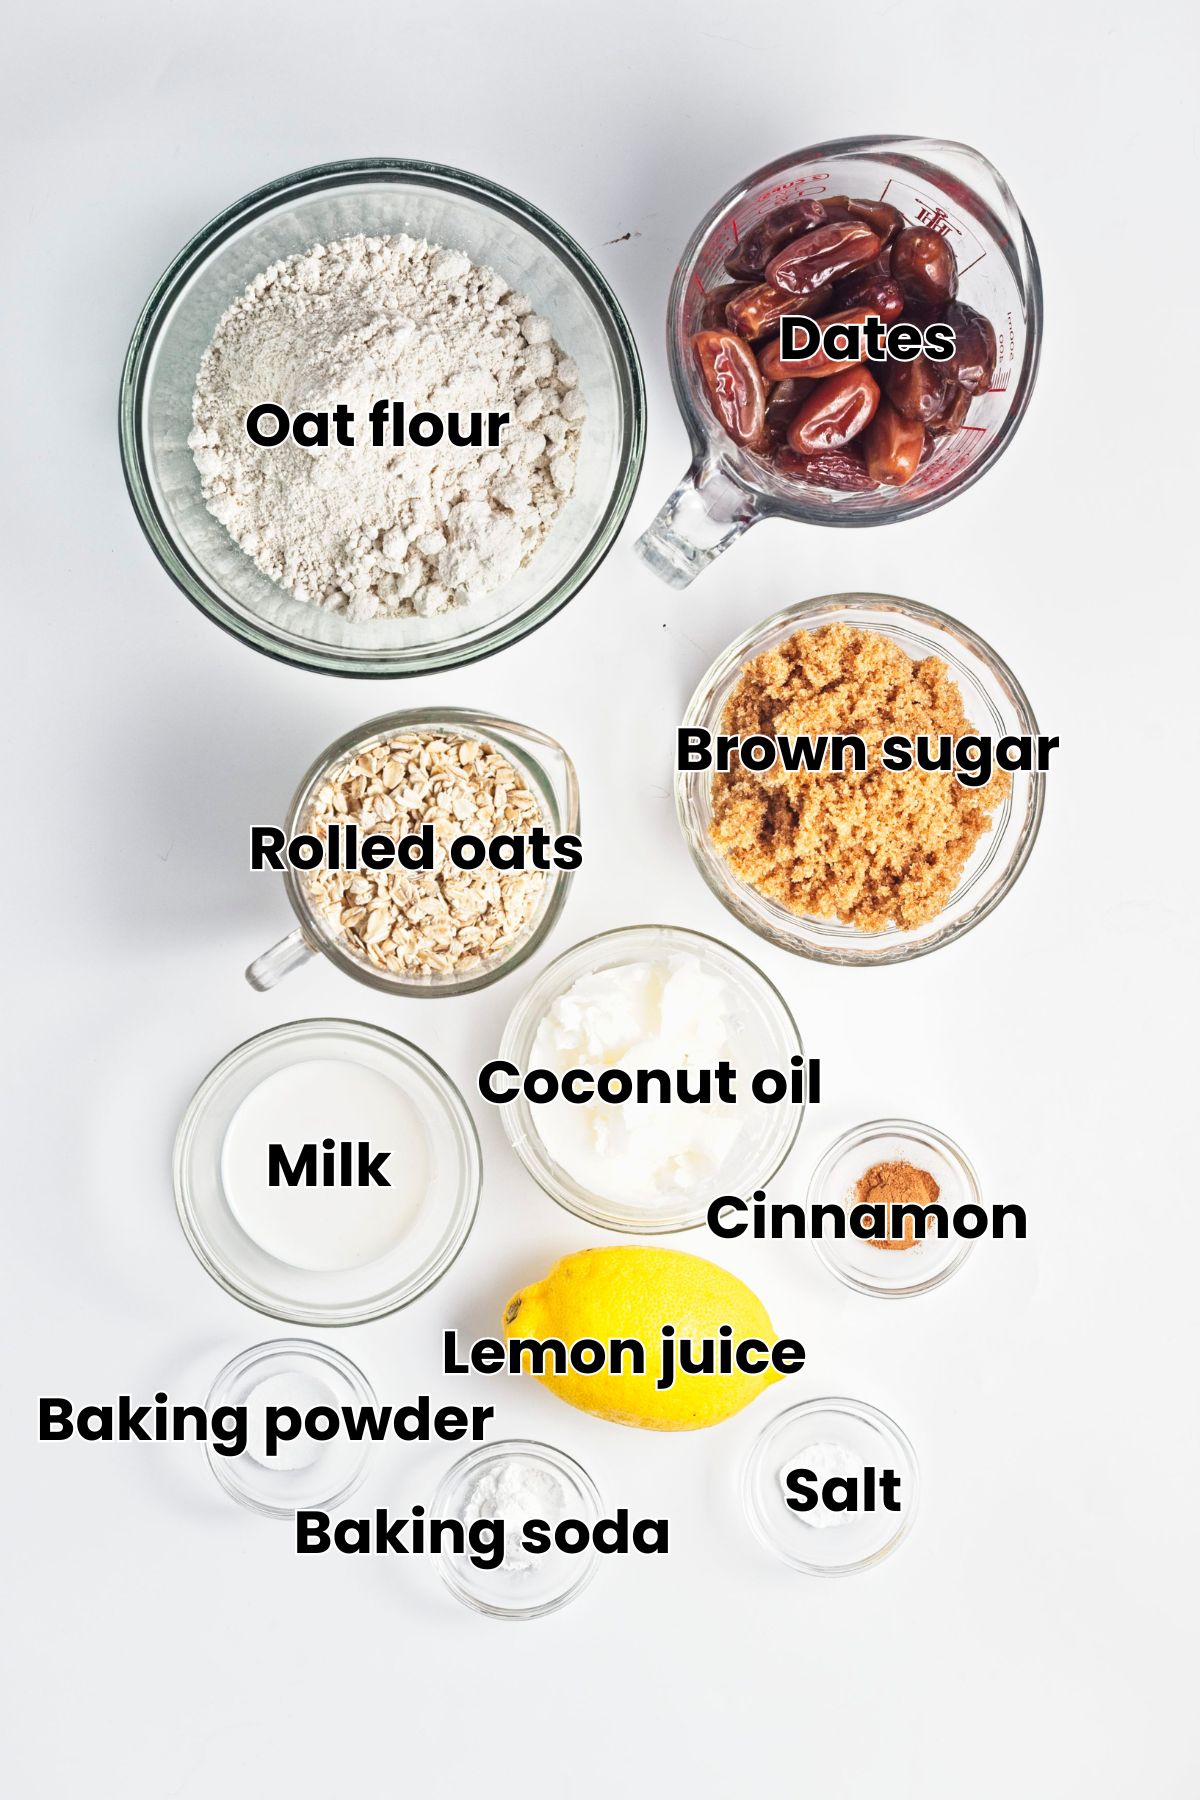
- Oat flour + rolled oats: You need both to maintain the texture. If you want, you can grind your own rolled oats into flour; just make sure that it is super fine so that it helps bind the base. Make sure to use gluten-free oats if needed.
- Baking soda: This seems super weird for date bars, but it really helps break the dates down while cooking to give a smoother paste.
- Coconut oil: Coconut oil turns solid once chilled, which is what helps hold the date bars with oat crumble together, just like in my keto granola recipe. Another oil can’t be used here.
- Dates: I use regular Medjool dates that have already been pitted. Other varieties can work too; these are just easiest. Truthfully though, soft, pitted dates work best because they’ll break down more easily into the filling. If your dates are particularly firm or dry, they may simply need a little longer to soften as they cook.
- Milk: Any milk will work; I don’t think it has to be a vegan milk for the bars.
See the recipe card for full information on ingredients and quantities.
Flavors To Try
Of course you can change the flavor of the date bars with oat crumble with a few subtle changes. Below are some that we’ve tried.
- Fruit: You can actually use most fruits here. I’ve made the bars with raspberries and apples (leftover apples from picking are great for this vegan apple baked oatmeal, too). Though the bars don’t hold together quite as well (dates are sticky; other fruits are not), it does work.
- Chocolate date bars: For a richer flavor, mix some chocolate chips into the dates and drizzle some extra on top of the bars before chilling them.
How To Make Date and Oat Bars
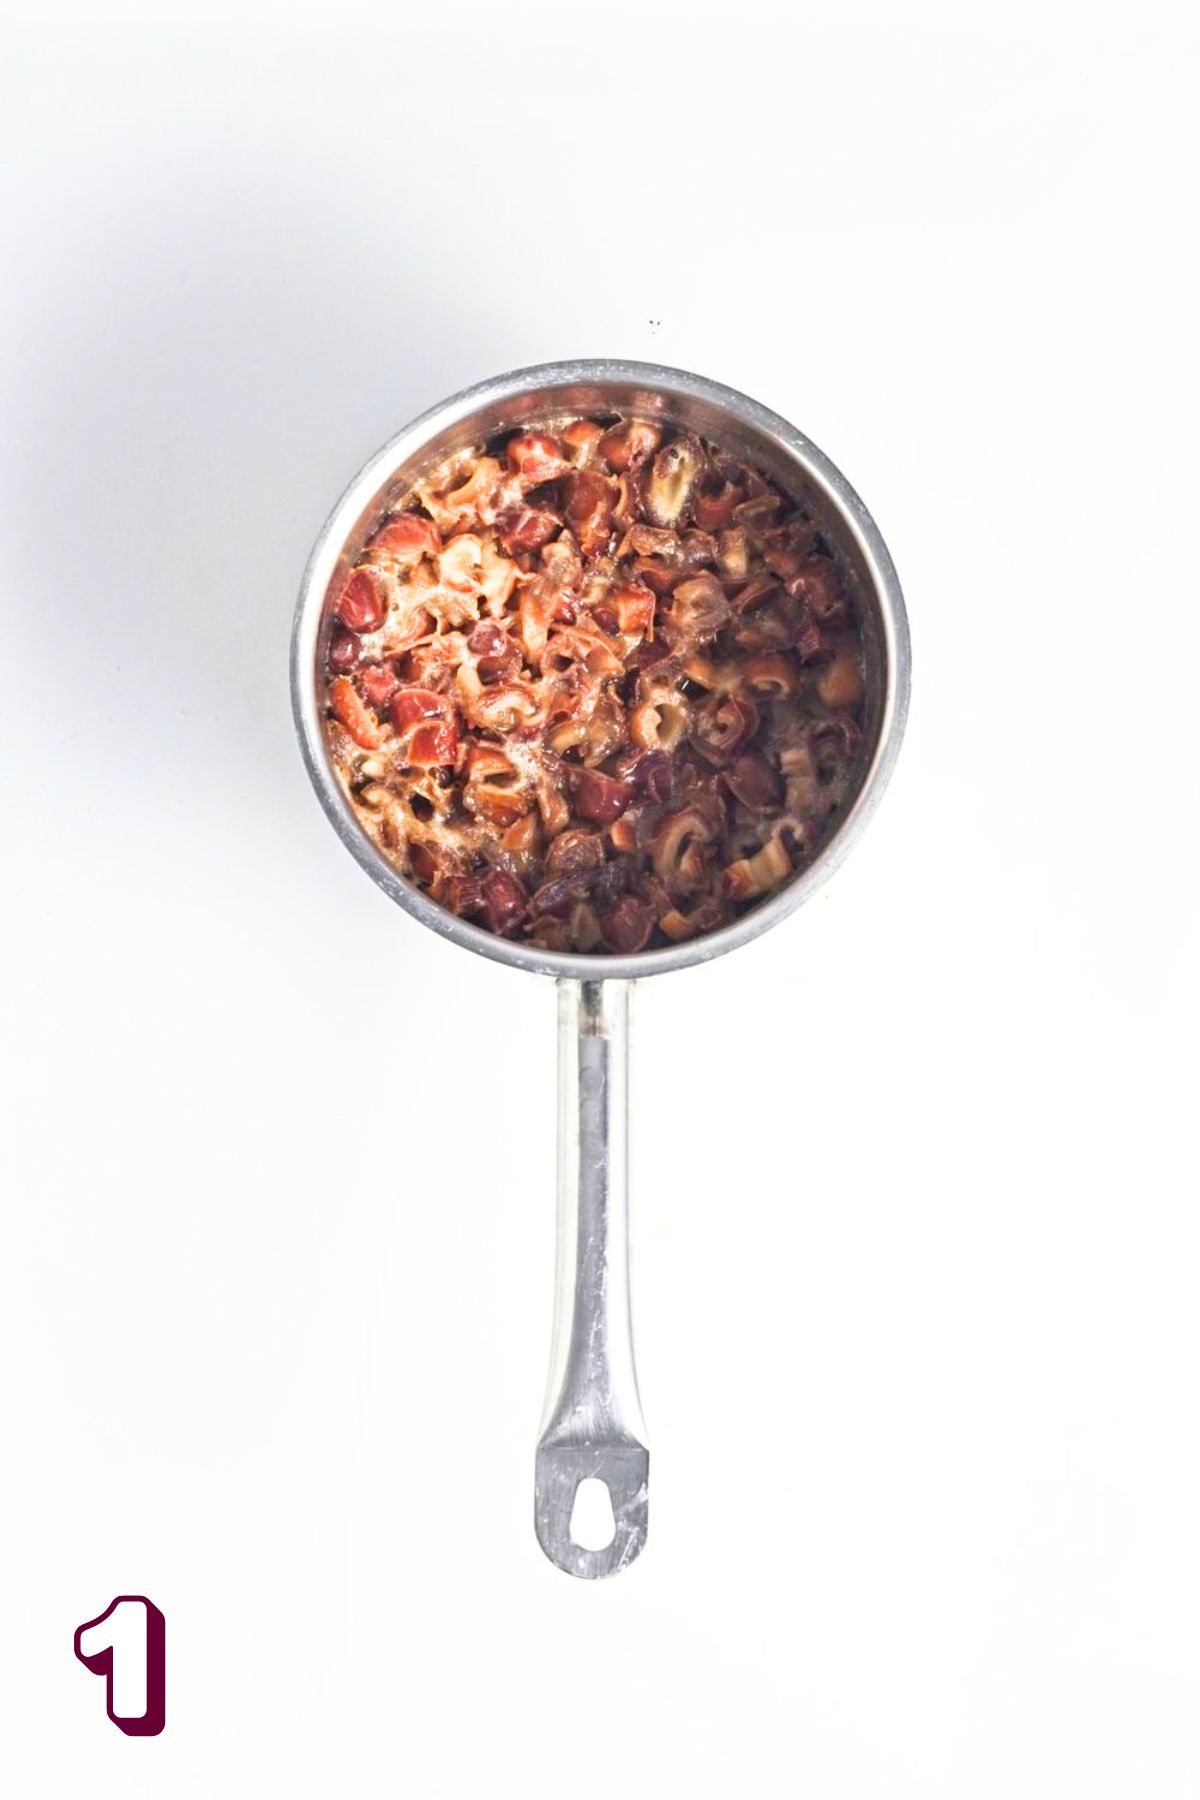
Step 1: Make the date layer by combining the ingredients in a small pot over low heat until the dates are broken down. Set it aside to cool.
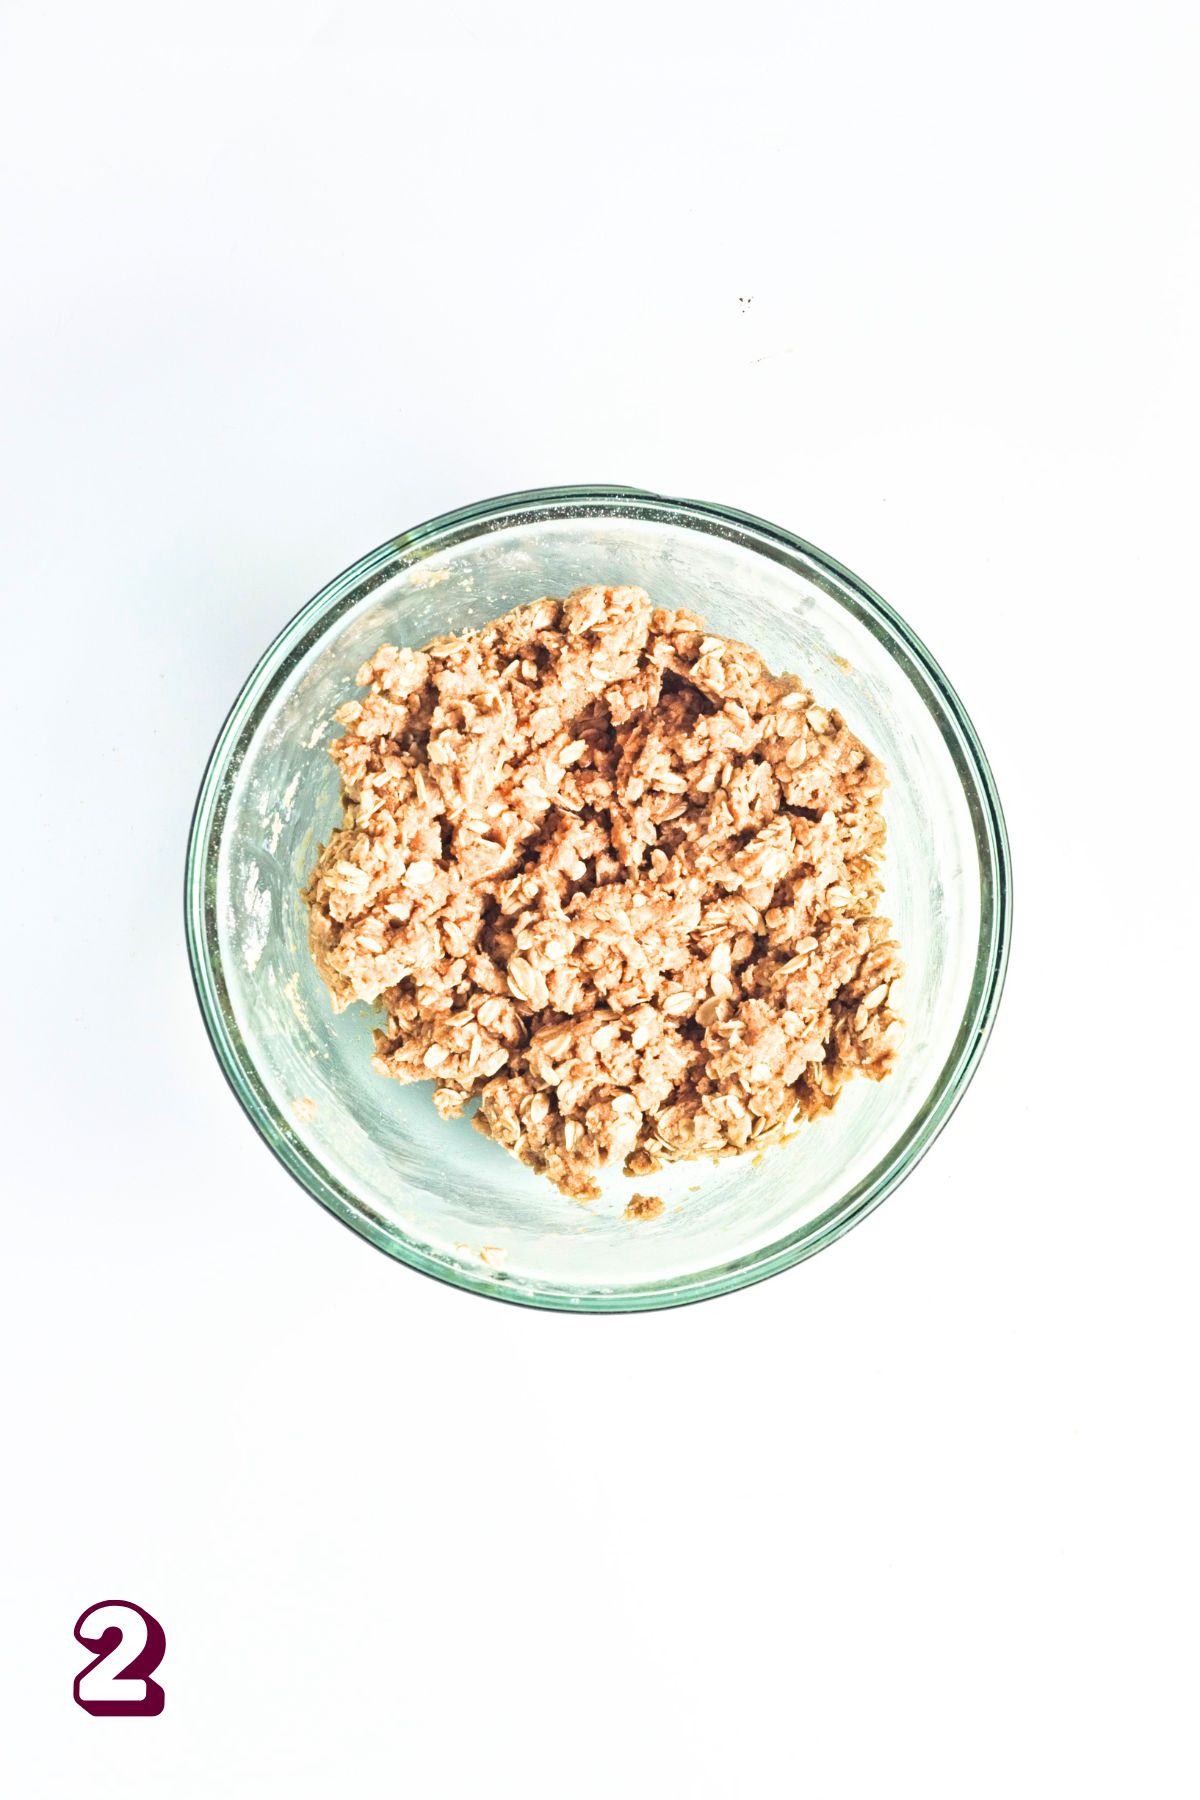
Step 2: In a large bowl, combine the ingredients for the oat layer until it’s ever so slightly sticky.
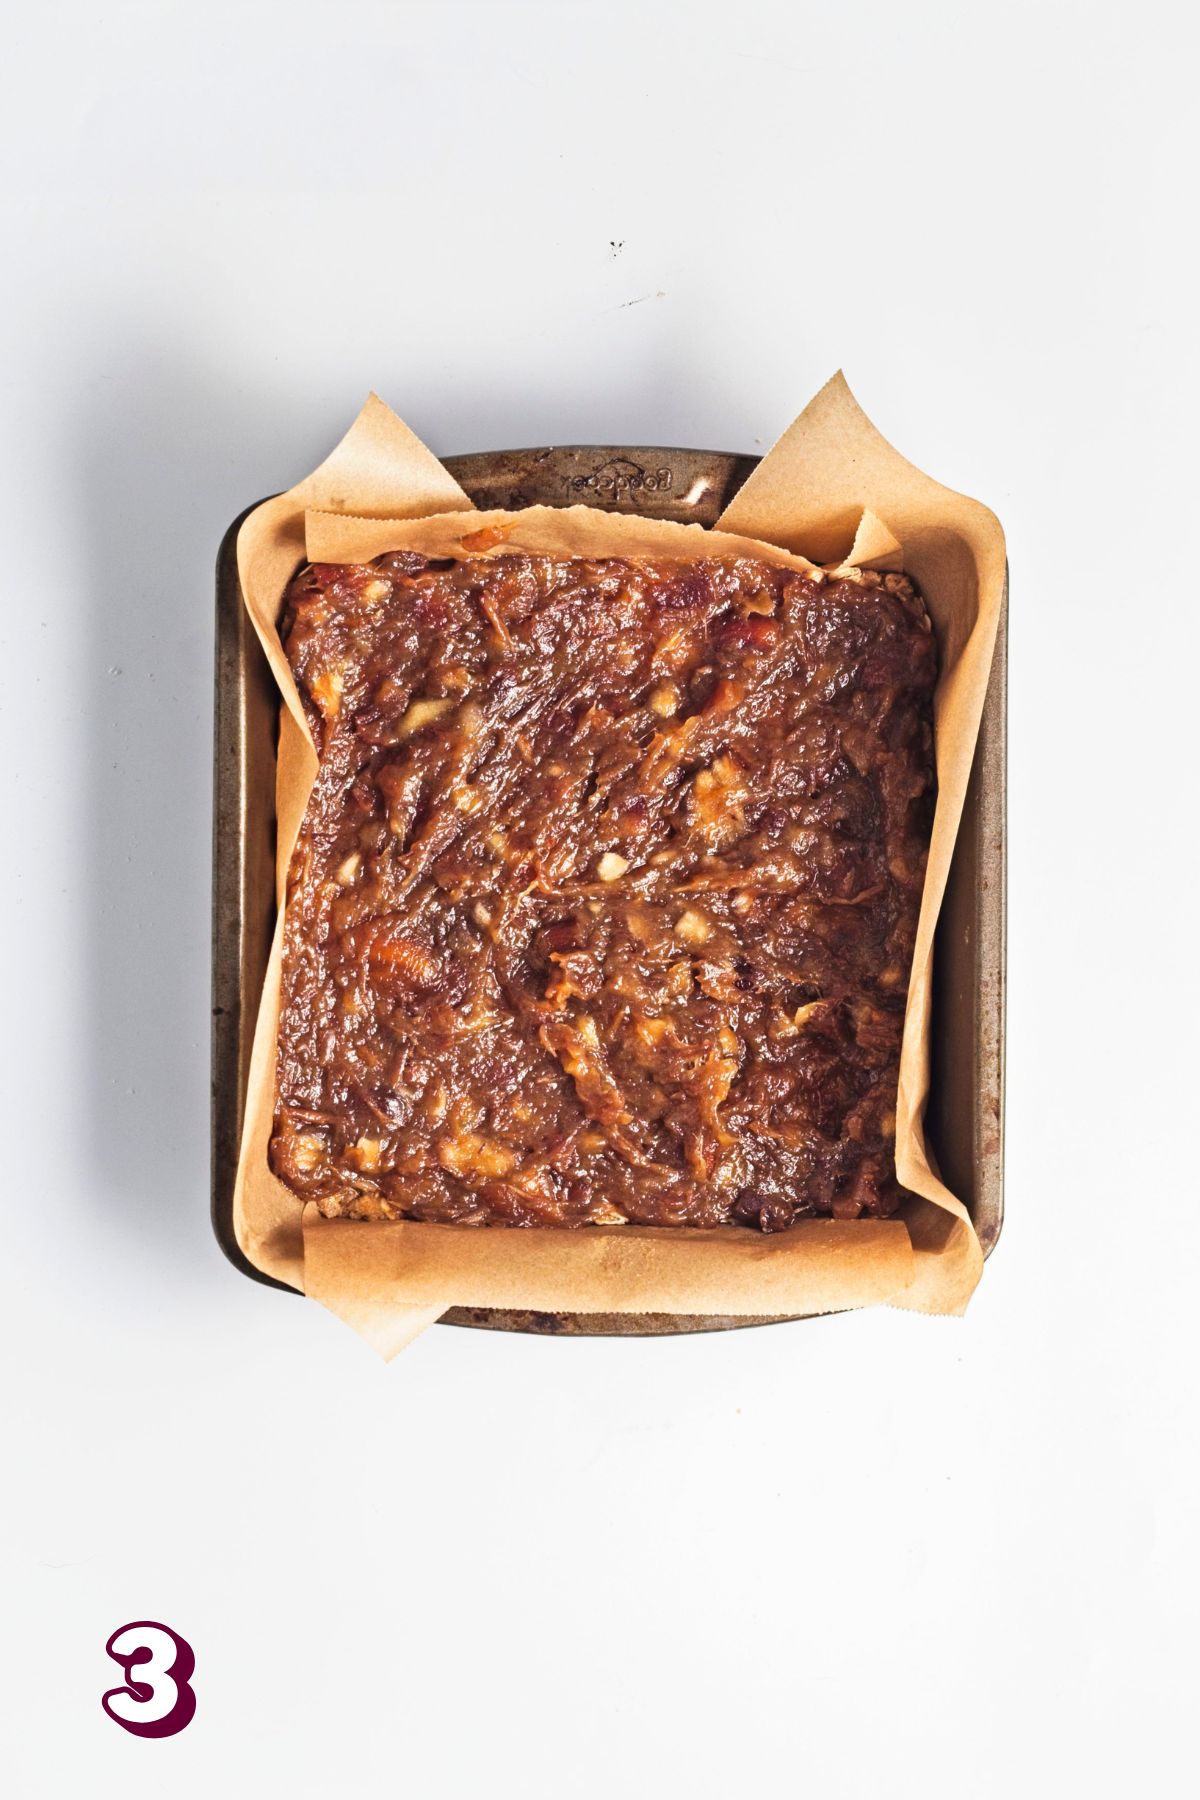
Step 3: Layer the bars by spreading half the oat mixture into a lined baking pan and pressing it down firmly before spreading the date mixture in an even layer.
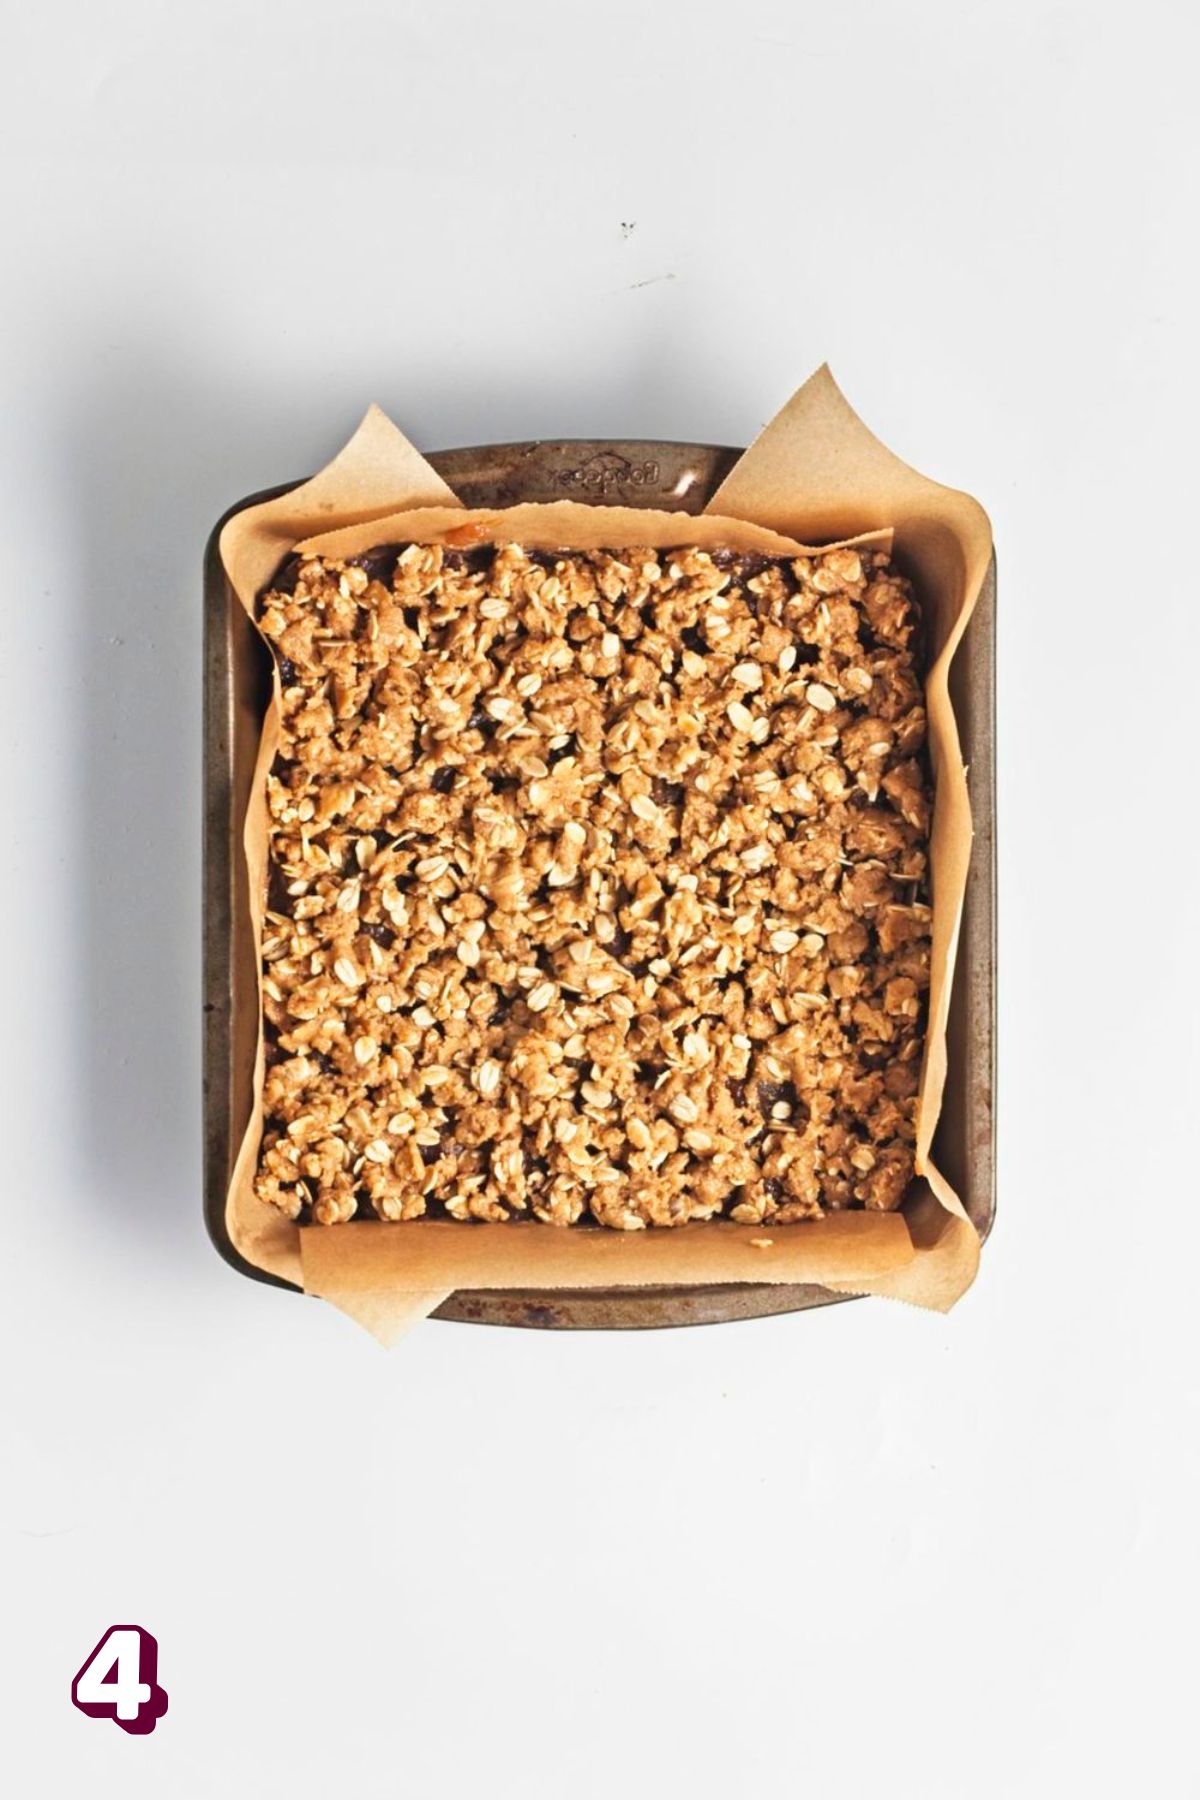
Step 4: Crumble the remaining oat mixture over top and bake the bars until golden brown. Let them cool before serving.
Note
You want the date layer to be bubbling before you remove the oat bars from the oven.
Helpful Hints
Pro tip: Press Firmly
Press the bottom oat layer firmly and evenly, as the better pressed it is, the less it crumbles.
- The oat mixture should be moist once you’re done mixing everything together. If it’s a bit dry or crumbly when pressed, add a splash more milk (less is more!).
- The date filling will thicken slightly as it sits after breaking it down. You want it to thicken as this makes it spreadable and not runny.
- Let the make-ahead date oat bars cool fully before slicing so that they thicken up. Slicing them too soon will cause them to tear and be too sticky.
- If you’re making these for little kids, cut them into mini squares so that they’re “bite-sized”.
How To Store Them
Room temperature: Once completely cooled, store the date bars for snacks in a covered container at room temperature for up to 3 days. For busy school or sports days, I like packing individual bars into small containers so they’re ready to grab on the way out the door.
Freezer: For longer storage, freeze the bars in an airtight, freezer-safe container for up to 1 month. Place parchment paper between layers to prevent sticking, then thaw individual bars at room temperature whenever you need a quick snack.
You can enjoy the bars both right out of the fridge (they’ll be more firm) or at room temperature,
How To Serve The Bars
These oatmeal bars with date filling work as a dessert or simple snack on game days, which means they pair easily with everything.
- Honestly, you can use the bars for an indulgent brunch as well, paired with either a savory dish like smoked salmon frittata with Gruyere cheese or a classic like my low calorie waffle recipe and some fruit.
- If making them for a sports tournament with the kids, pair them with chocolate chip banana bread with no oil to stretch it further.
- Make a dessert table with the easy homemade date bars and pair them with your favorite strawberry poke cake with pie filling.
Date and Oat Bars FAQs

More Easy Dessert Recipes
If you tried this Date Bar Recipe or any other recipe on my blog, please leave a 🌟 star rating and let me know how it goes!
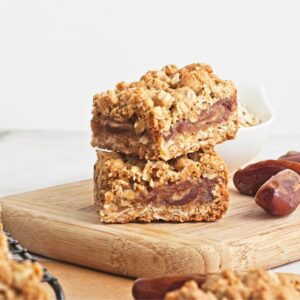
Date and Oat Bars
Ingredients
Date Layer
- 2 cups dates 300g, pitted and chopped
- 6 tablespoons water 90ml
- 2 tablespoons lemon juice 30ml
- 1/4 teaspoon baking soda 2g
Oat Layer
- 1 1/4 cups oat flour 150g, gluten-free is needed
- 1 cup rolled oats 110g
- 3/4 cup light brown sugar 150g
- 3/4 teaspoon baking powder 3g
- ½ teaspoon ground cinnamon 1g
- ½ teaspoon salt 3g
- 6 tablespoons coconut oil 90ml, melted
- 2-3 tablespoons milk 0-45ml, non-dairy if needed
Instructions
- Preheat oven to 350°F/175 C. Grease or line an 8” x 8”/20cm x 20cm baking pan with parchment.
Make the date layer
- Pit and chop the dates if that’s not already done.
- Combine dates in a medium pot with water, lemon juice, and baking soda. Cook gently over medium-low heat, stirring regularly, until dates have broken down and formed a thick paste.
- Set aside to cool slightly.
Make the oat layer
- In a large bowl, combine the oat flour, rolled oats, brown sugar, baking powder, salt, and cinnamon. Stir until mixed well.
- Add the melted coconut oil and 2 tbsp of milk. Stir through with a fork to moisten all the dry ingredients. The mixture should be moist and hold together, but not wet or sticky. Only add more milk if you think the mixture is too dry and is crumbling when pressed.
- Scoop just over half the oat mixture into prepared baking pan and spread into the corners, flattening into an even layer. Press firmly.
- Spread the date mixture into an even layer over top.
- Crumble the remaining oat mixture on top of the dates but do not press down.
- Bake for 20-25 minutes until the top is golden brown and date mix is bubbling.
- Remove from oven and allow to cool completely in the pan before cutting into 12-16 bars.
Video
Notes
Nutrition
Equipment